
Heading out on an aurora hunt? Don’t go too far without these tips!
There’s a lot of info out there about aurora hunting, but what about how to hunt northern lights in Iceland? With its ethereal landscape, rapidly changing weather, and, convenient location, these tips are penned with that special island in mind. After a few visits, you’ll see what we mean.
1. Check THE aurora forecast
There are countless aurora forecasts and apps floating around on the web. The more used to them you are, the quicker you can understand how to hunt northern lights in Iceland. Eventually you may find that it can be to reference a few of them before heading out, but for now, here is our favorite.
If you’re new to the aurora forecast scene and you need to know what’s going on in Iceland, you’ve got to check the forecast put out by the Icelandic Meteorological Office. We like this forecast because we know it’s focusing on the cloud cover in our area, and not a global average or a hidden location behind a percentage.
It’s also a great place to catch any unusual weather alerts or natural events that might not be covered in your own home forecasts. Things like avalanche warnings, seismic activity, and volcano alerts. This website is your one stop shop for all forecasting needs in Iceland.
2. ..And then check the weather
You looked at the aurora forecast, and it looks great! But what is the actual weather doing? Chances are, if the cloud map looked ok, you might be in luck. But it’s always best to double check, because of how quickly Icelandic weather can change and develop by area.
Knowing how to hunt northern lights in Iceland is greatly benefited by knowing about general weather alerts, low pressure systems, high wind, icy conditions and storms in areas that you may be heading to are all things you will want to know before you head out. It might be clear at your starting location, but an hour away might be a different story.
Make sure to scroll through the hours that you’ll be out and see how the prediction develops over time. These things can make or break your trip, and it’s important to be safe while traveling in dark conditions.
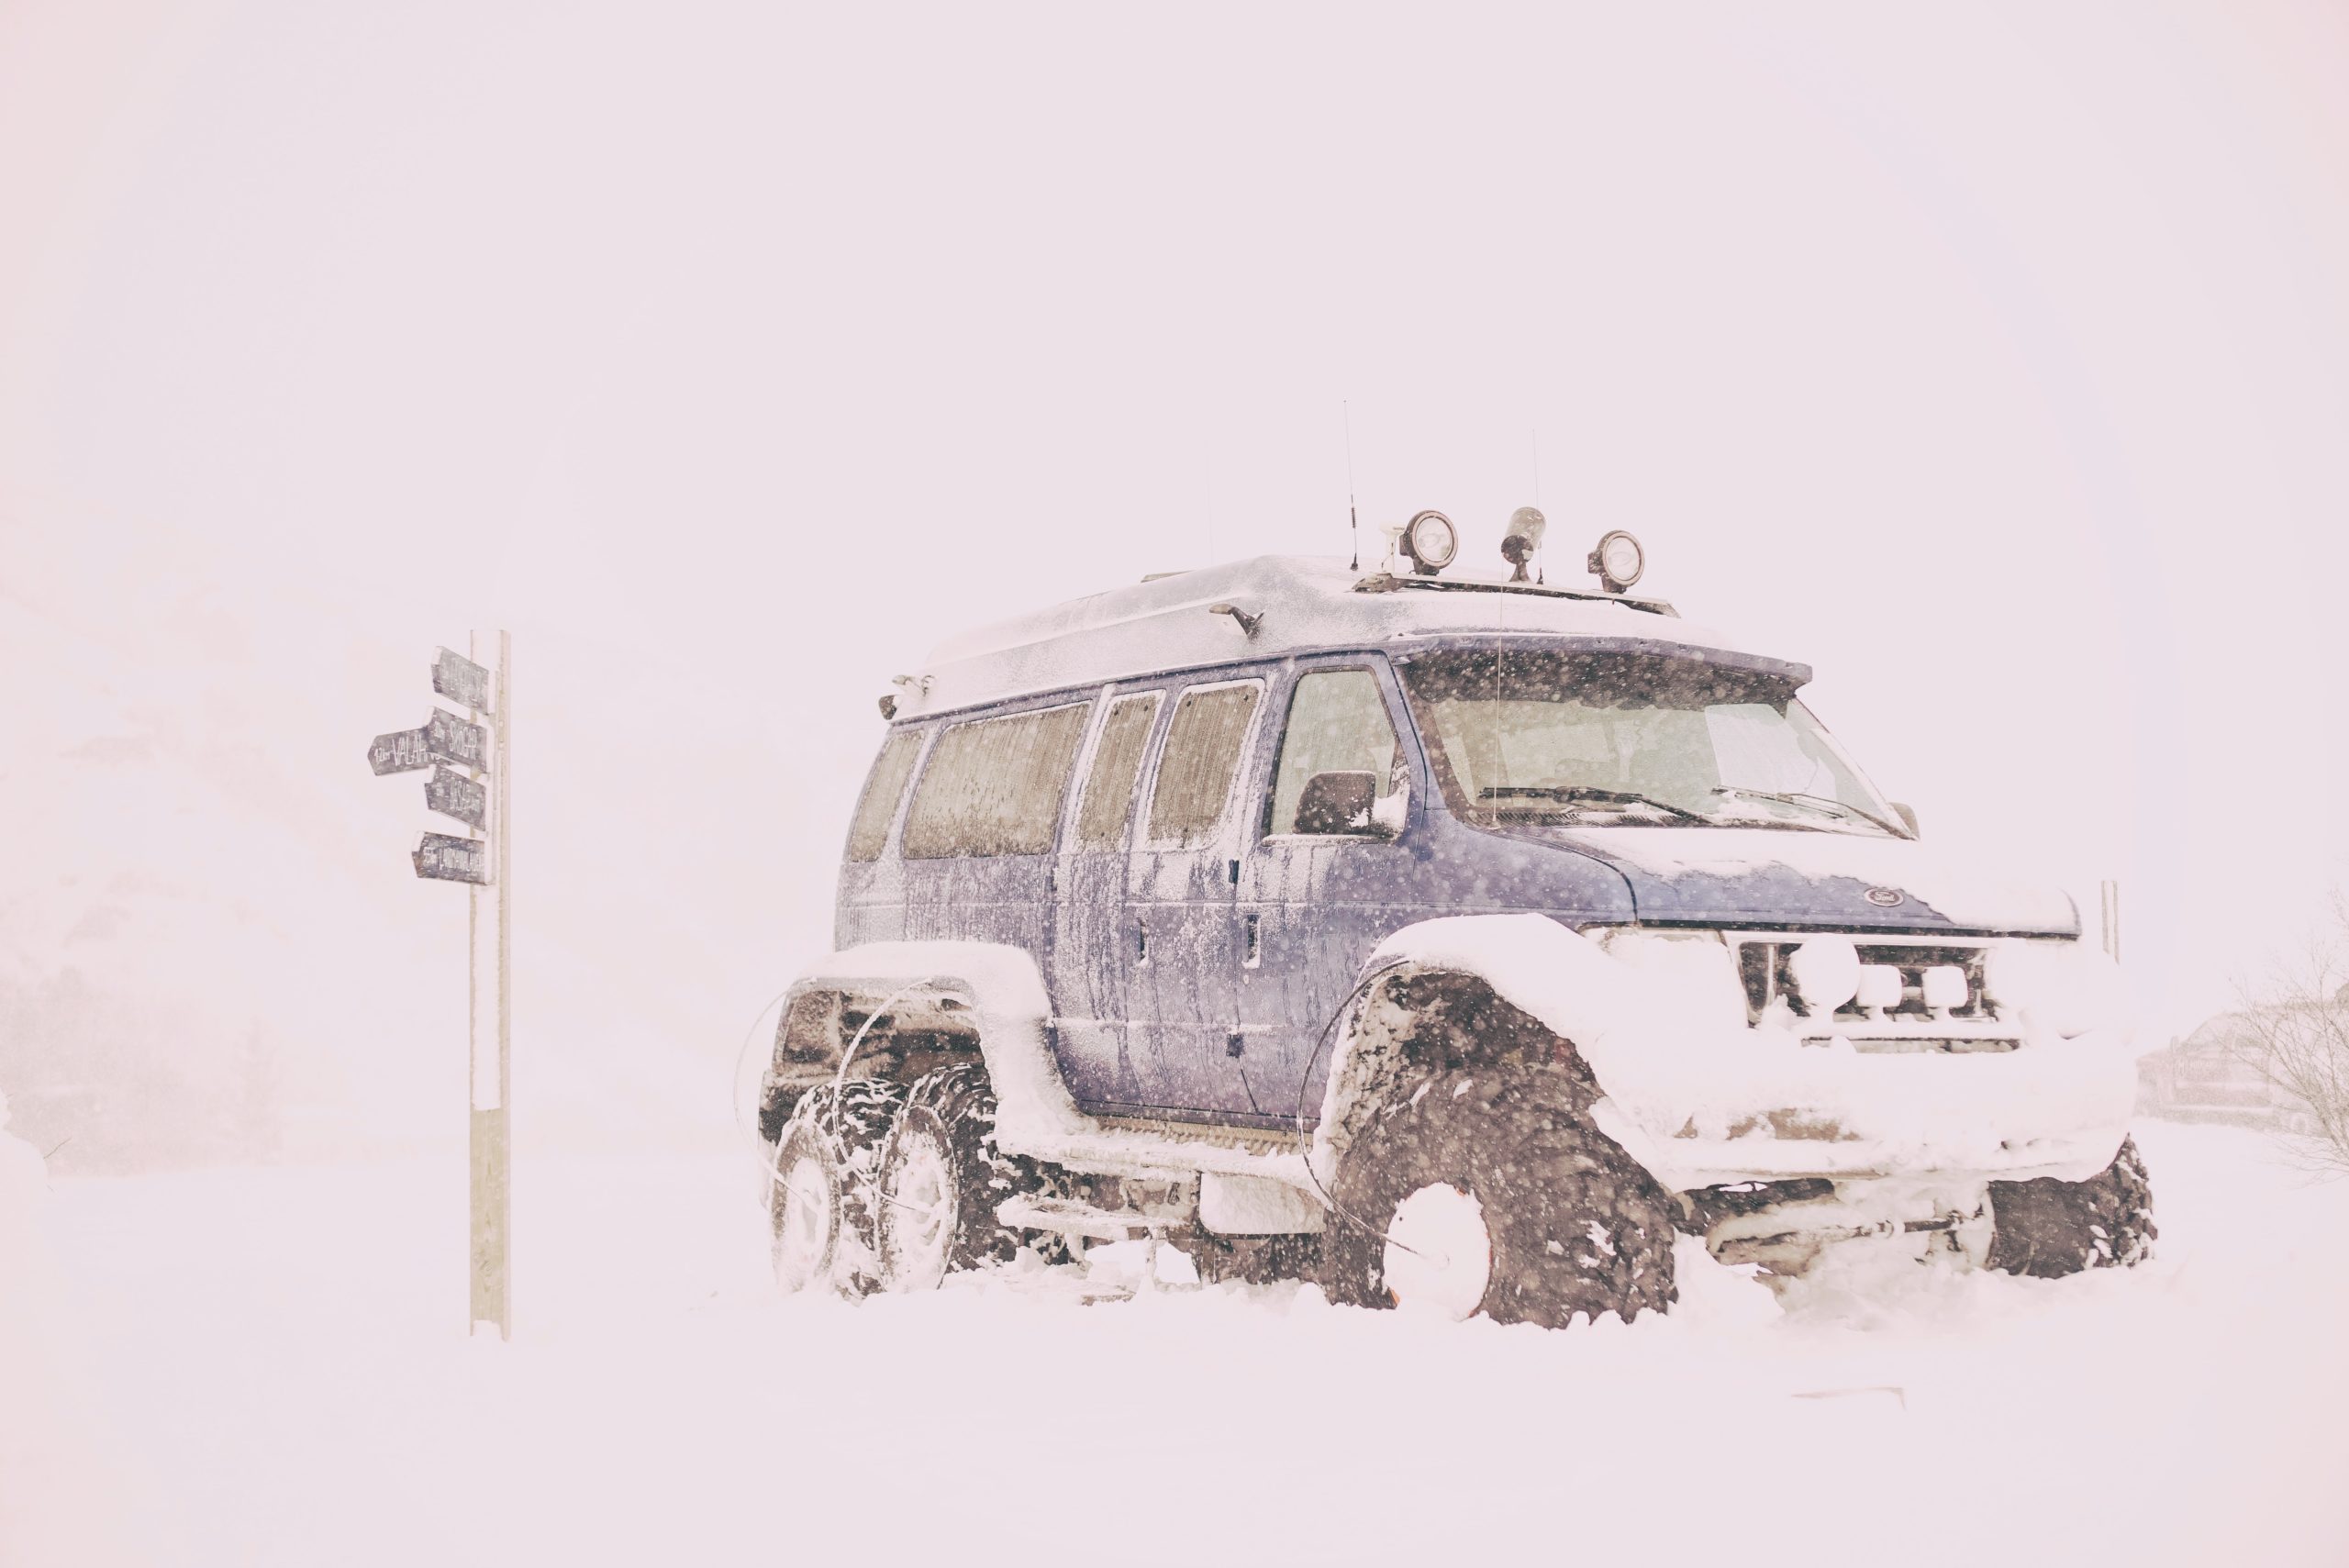
3. Set a heading
If you’ve seen the aurora forecast, you probably have a good idea of where to go. (How? Because you saw where the sky clarity was!) When choosing a direction to venture in, we are looking for areas of clarity first, and then figuring out what roads and landmarks follow that window.
Depending on what time of year you’re hunting in, you may need to check the roads along your projected path, as not all areas receive service in the winter months. Some roads close, some are unpaved, and some may be dangerous at certain times.
The good news is, you can find out all of this info, and see a webcam view of most of them. (The webcam view might not do you much good at night, but it’s a nice tool for daytime use.) Websites like road.is keep track of the status of the roads, if they’ve been serviced, and if they are safe to travel.
This information gets updated frequently, so it’s also a good tool to use while you’re out. It can also help to familiarize yourself with the roads that are in the clear areas you saw on the aurora forecast.
Be careful though, and make sure that you are never stopped on one of these roads while hunting. Icelandic roadways are often small and often lack a shoulder for pulling over, so it is key to wait until you reach a safe space to stop- no matter how good the show is.
(And be careful about private property and gates! Much of Iceland is private farmland, so try to be respectful of where you hunt, and never leave a gate open behind you.)
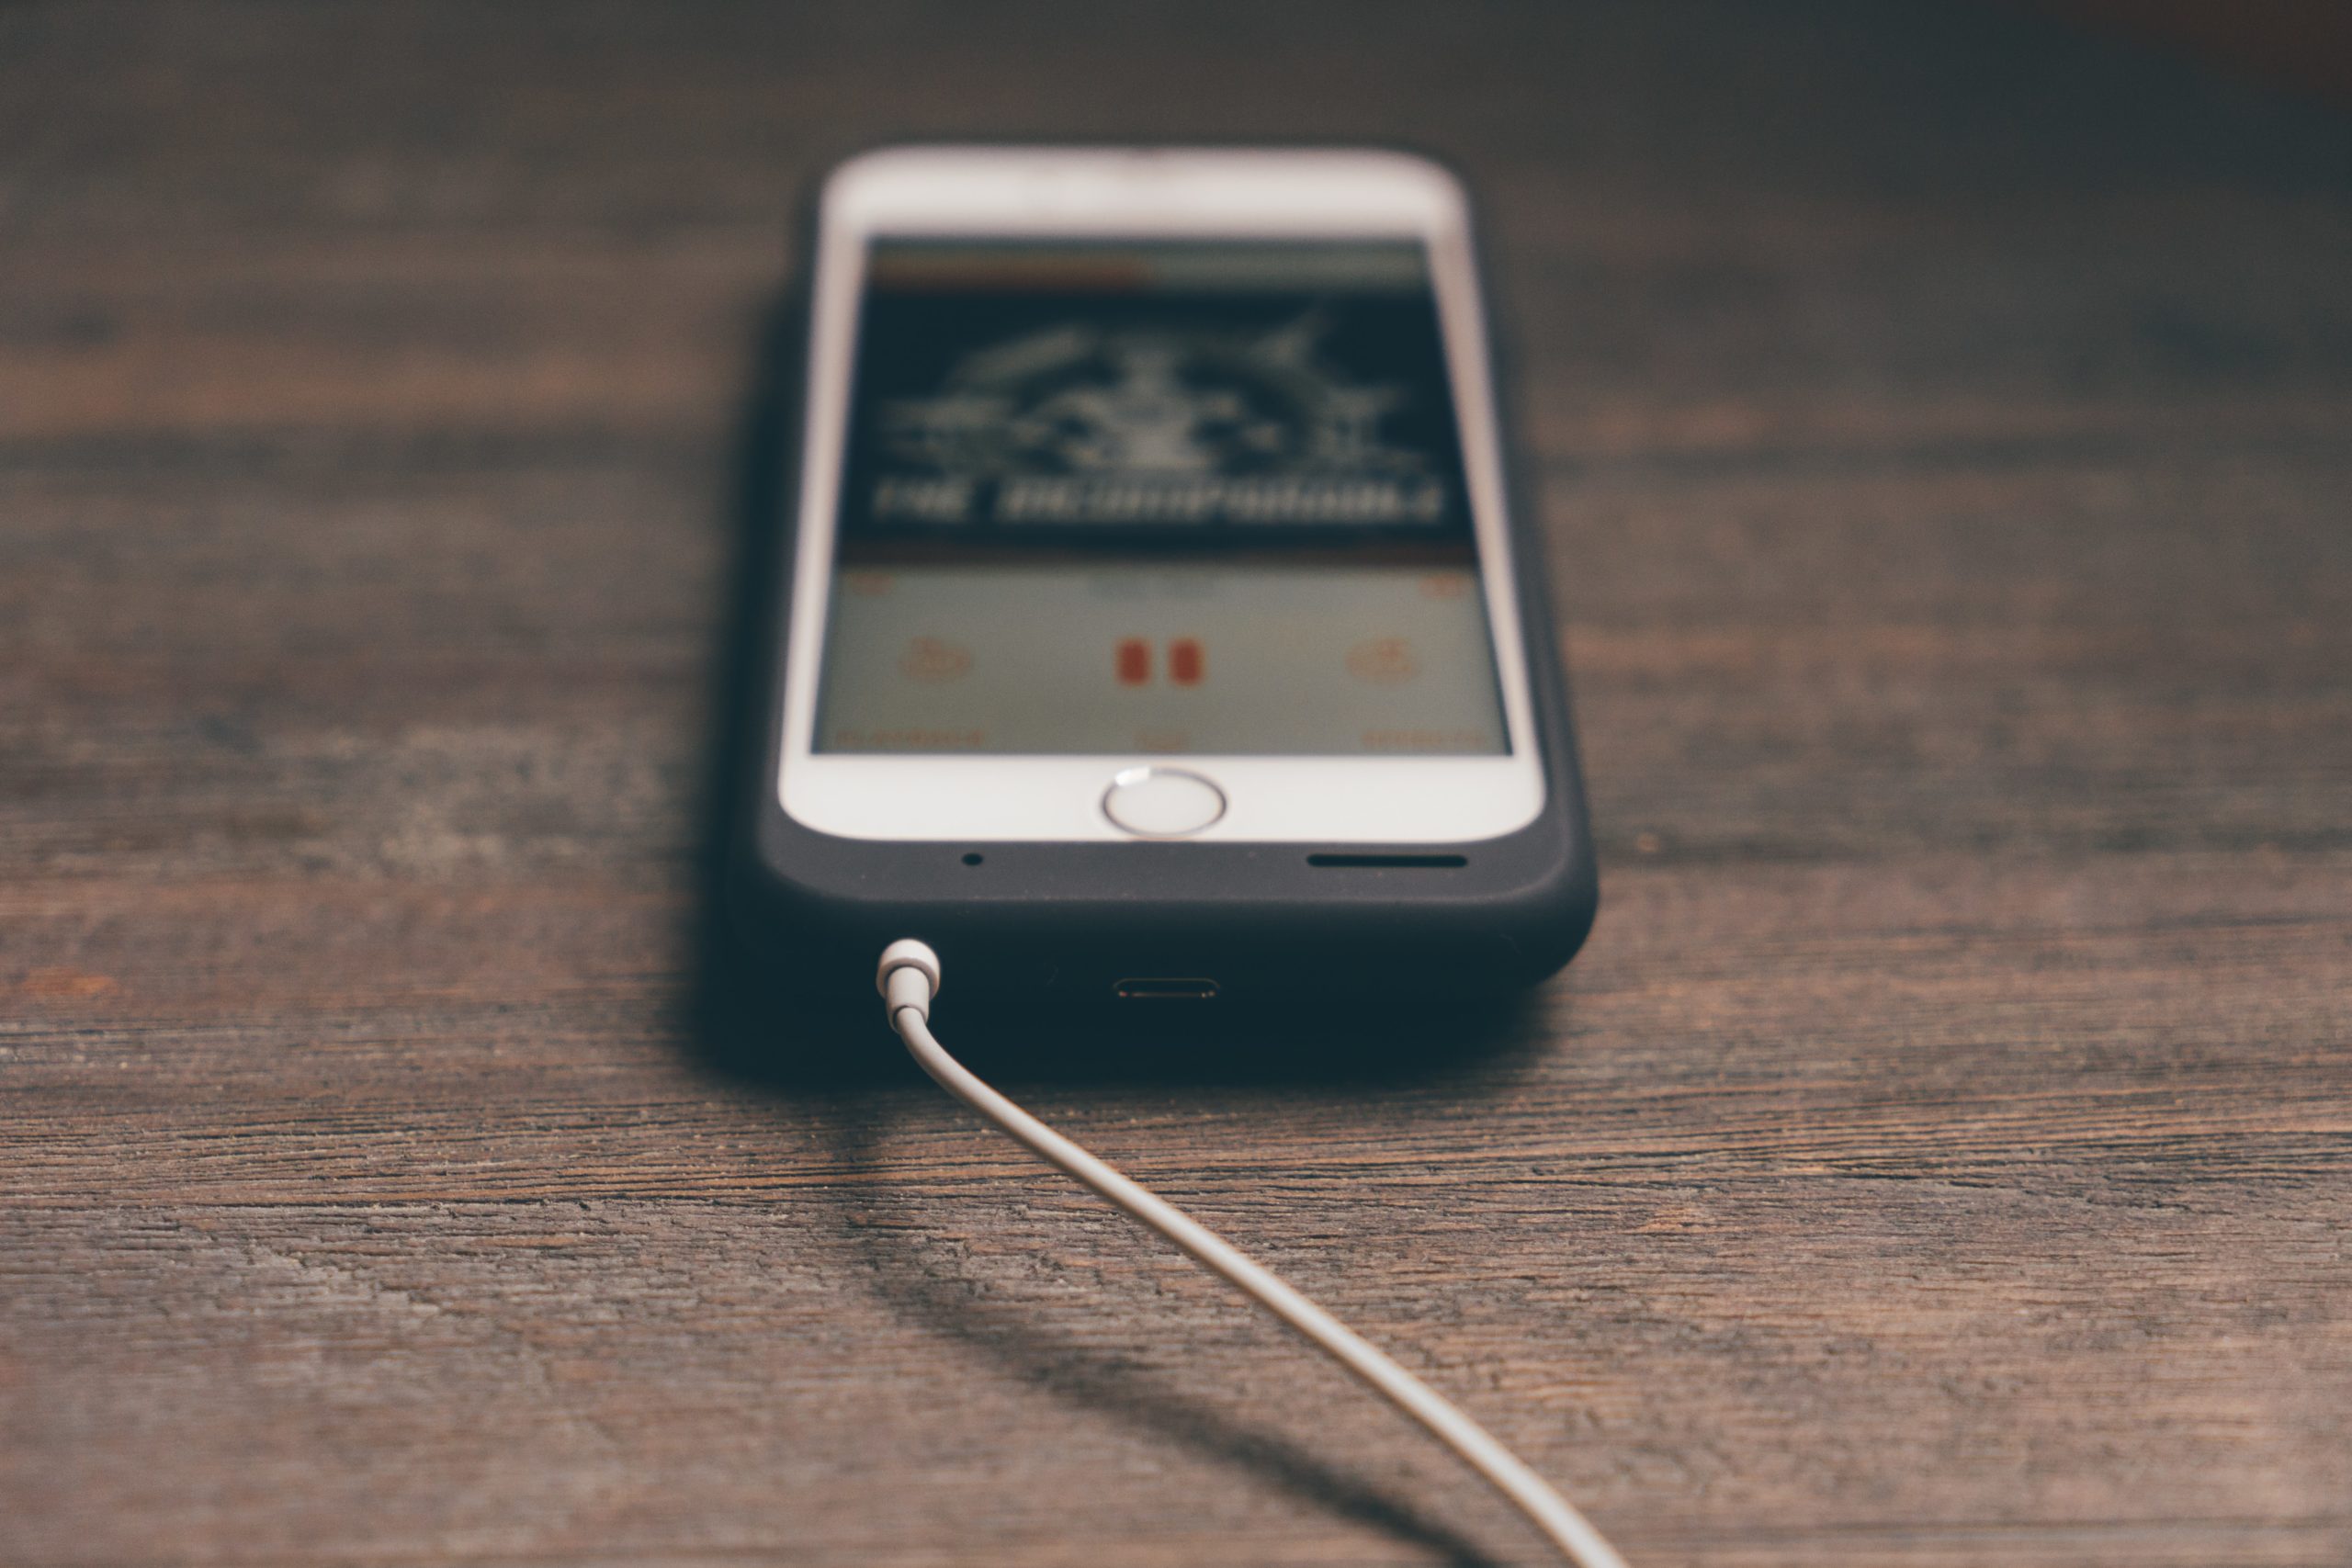
4. Don’t leave the house without a full charge!
This might be a no brainer to some, but it can be the difference between getting that great shot, and being left empty handed. Batteries drain faster in cold weather, so don’t rely on a half charged battery for a long aurora hunt. These treks can last a few hours, and you can’t always gauge when the aurora will reveal itself.
Do yourself a favor, and hook all of that gear up before you go. That could mean phones, camera equipment, drones, headlamps, backup batteries, whatever you’ve got. In this respect, it’s better to be too prepared.
(..And don’t forget a USB cord for the road! Depending on your travel situation, many cars and busses have USB ports that can boost a dying device in a pinch.)
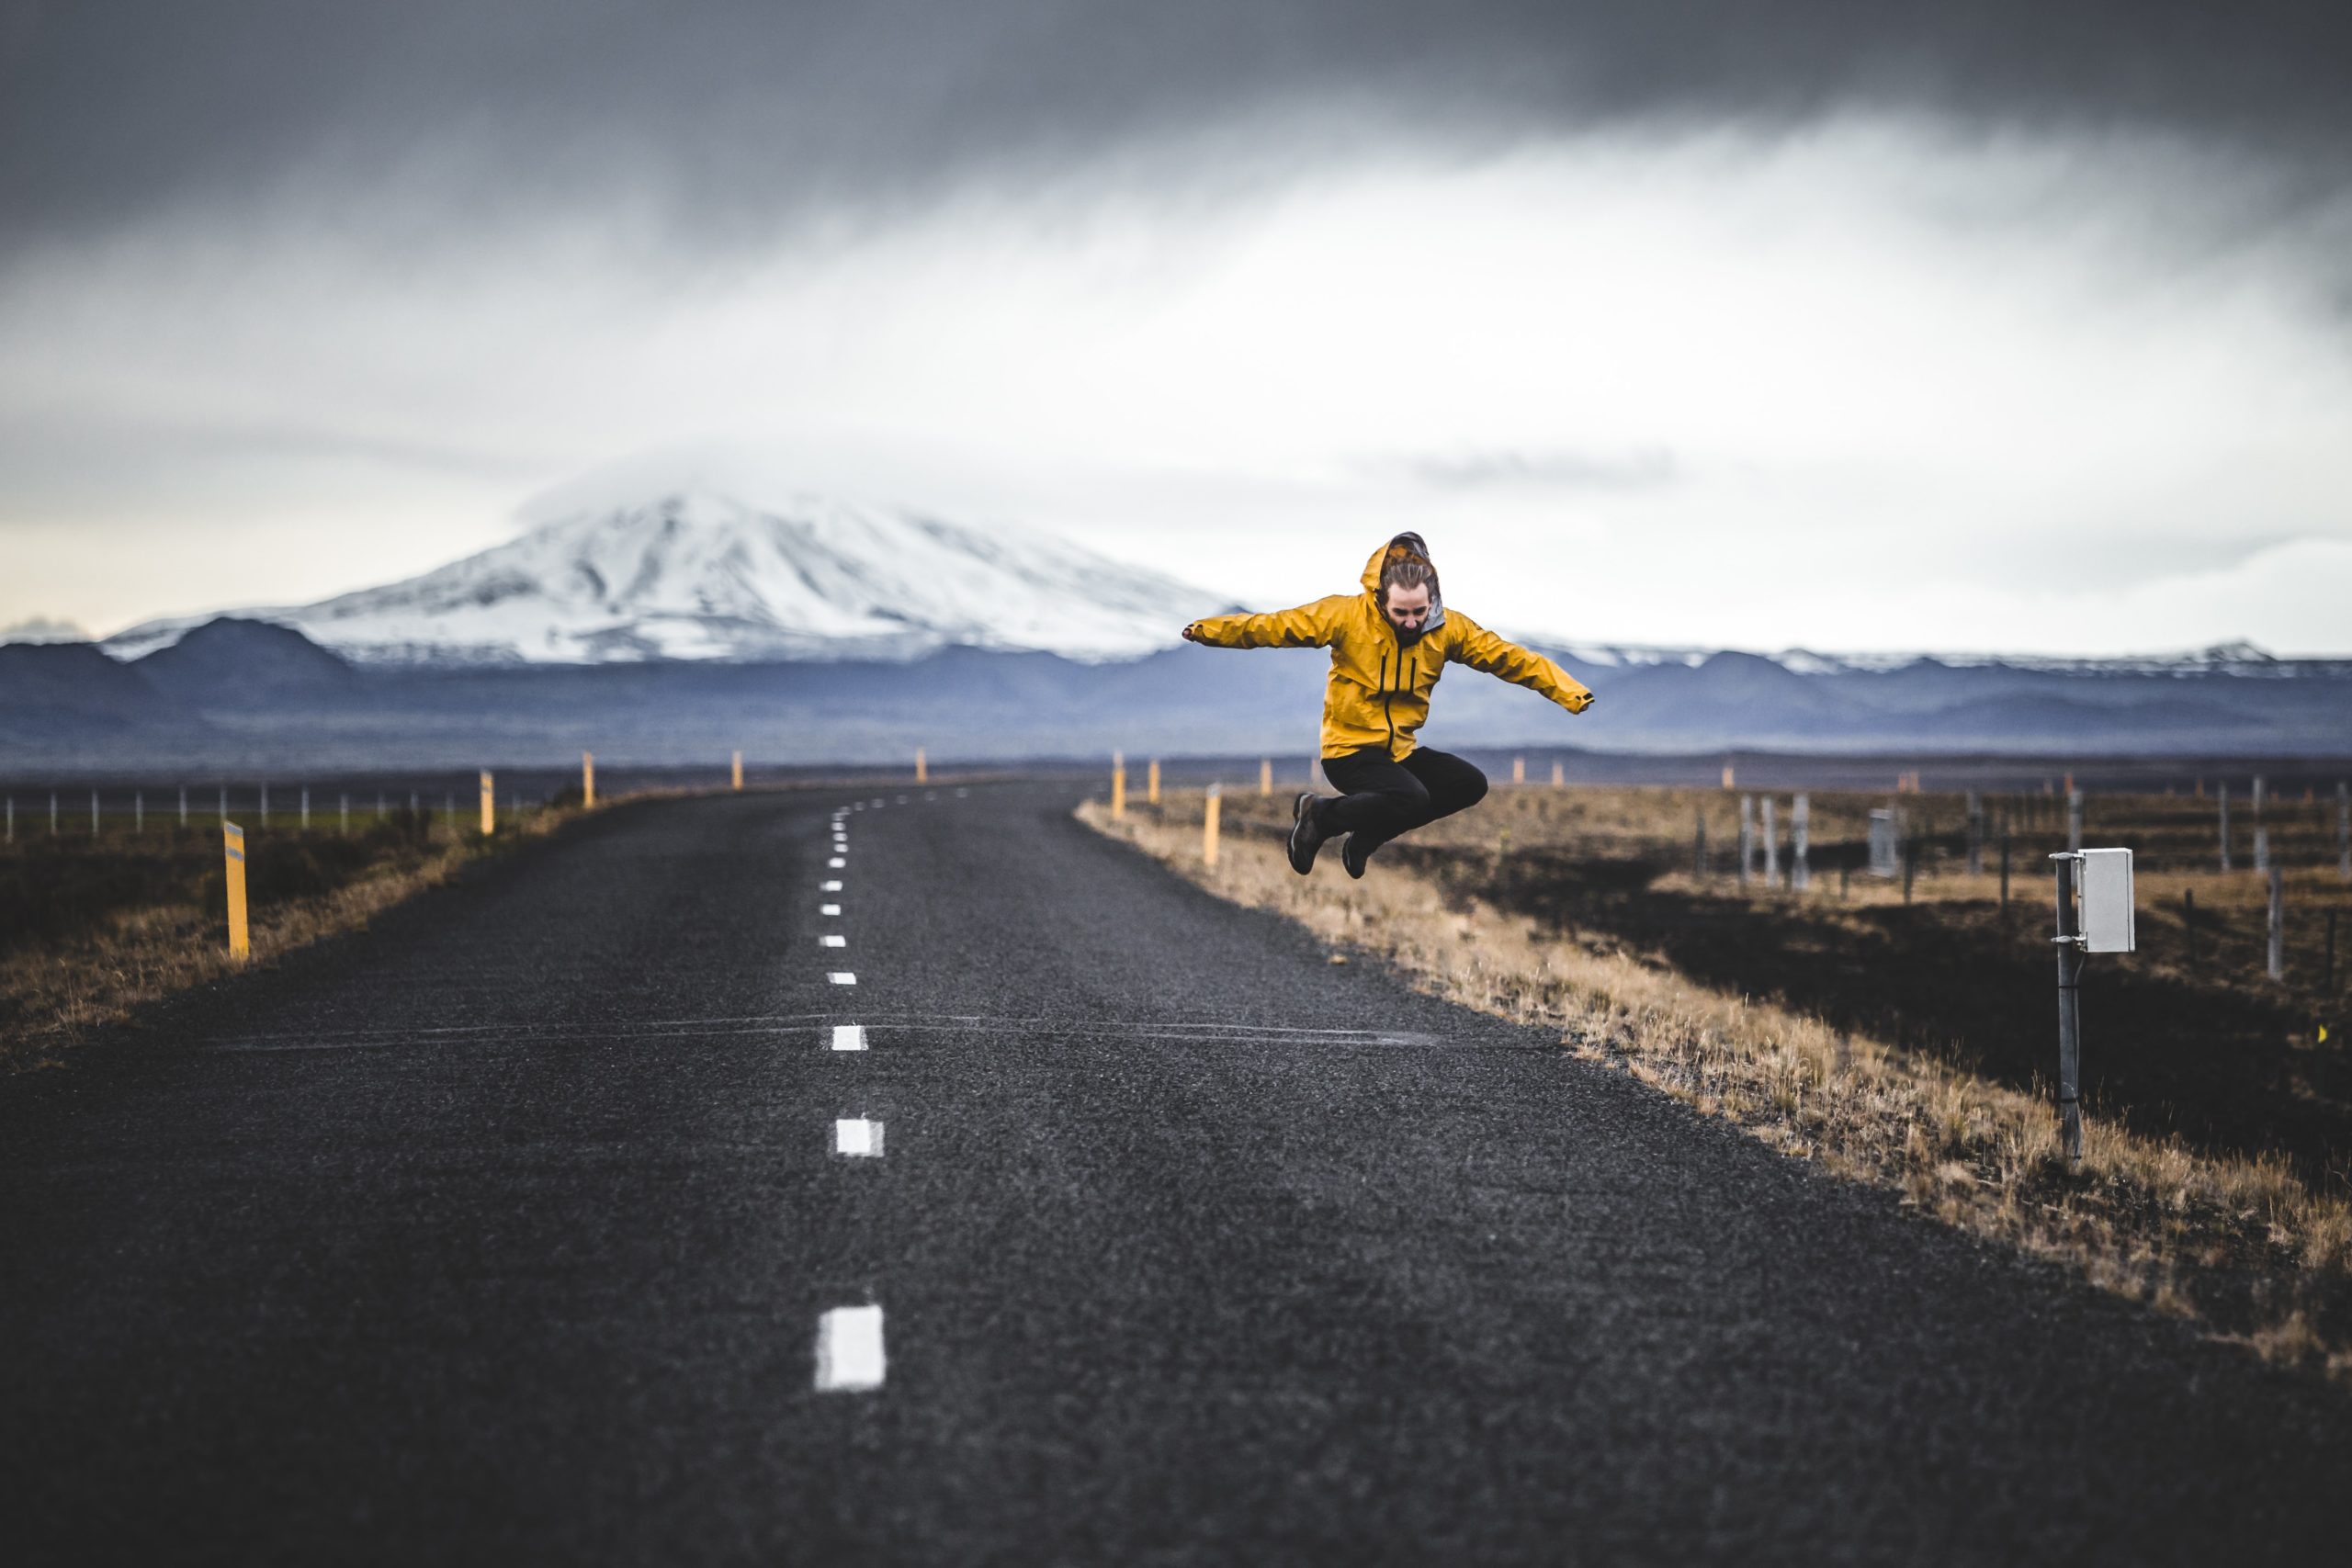
5. Dress for success
This is a point that often gets overlooked, and it’s a very Iceland appropriate topic. If you’re headed out into that dark wintry night, you had better make sure you’re layered, and at least partially waterproof.
You can give or take some of these things depending on how long you’ll be out and what your level of activity will be; but if you’re diving in, you won’t regret it.
Due to a fairly moderate climate (as far as Arctic climates go,) Iceland can be quite wet throughout the auroral season. Pair this with increased wind speeds in the evening, and you’ve got a recipe for some frigid legs. If you’re spending a few hours outside at night, you could benefit from some waterproof gear or insulated pants.
You may also want to dress in layers, as hopping in and out of a vehicle can sometimes be an extreme temperature experience. And don’t forget fingers, necks, ears and ankles!
These are parts that you may need to expose to work cameras, phones, and gadgets- but even the strongest mitts need a break. You might not wear them the whole time, but you’ll appreciate having the choice.
6. Start the hunt before you leave the house
When thinking about how to hunt northern lights in Iceland, checking the forecast and dressing in layers seems pretty straightforward. But what about preparing yourself? For some people, the hunt starts the minute they head out into the darkness.
But for a true aurora hunter, it begins in the afternoon and early evening, when you’re getting that early dinner and pre-hunt nap. You might be out late, and you might work up an appetite!
It’s a real drag to roll back into town around 1:30 am cold and hungry, only to find that your options are severely limited to convenience store snacks at best. If you’re lucky, you may be able to find a 24 hour grocery, but otherwise, most restaurants and eateries will be closed by the time you’re done chasing the lights.
So give your hunt the full attention that it deserves, by making sure your belly is full, and your body is rested. (…And maybe preemptively pick up some snacks for the road. Aurora hunting is hungry work!)
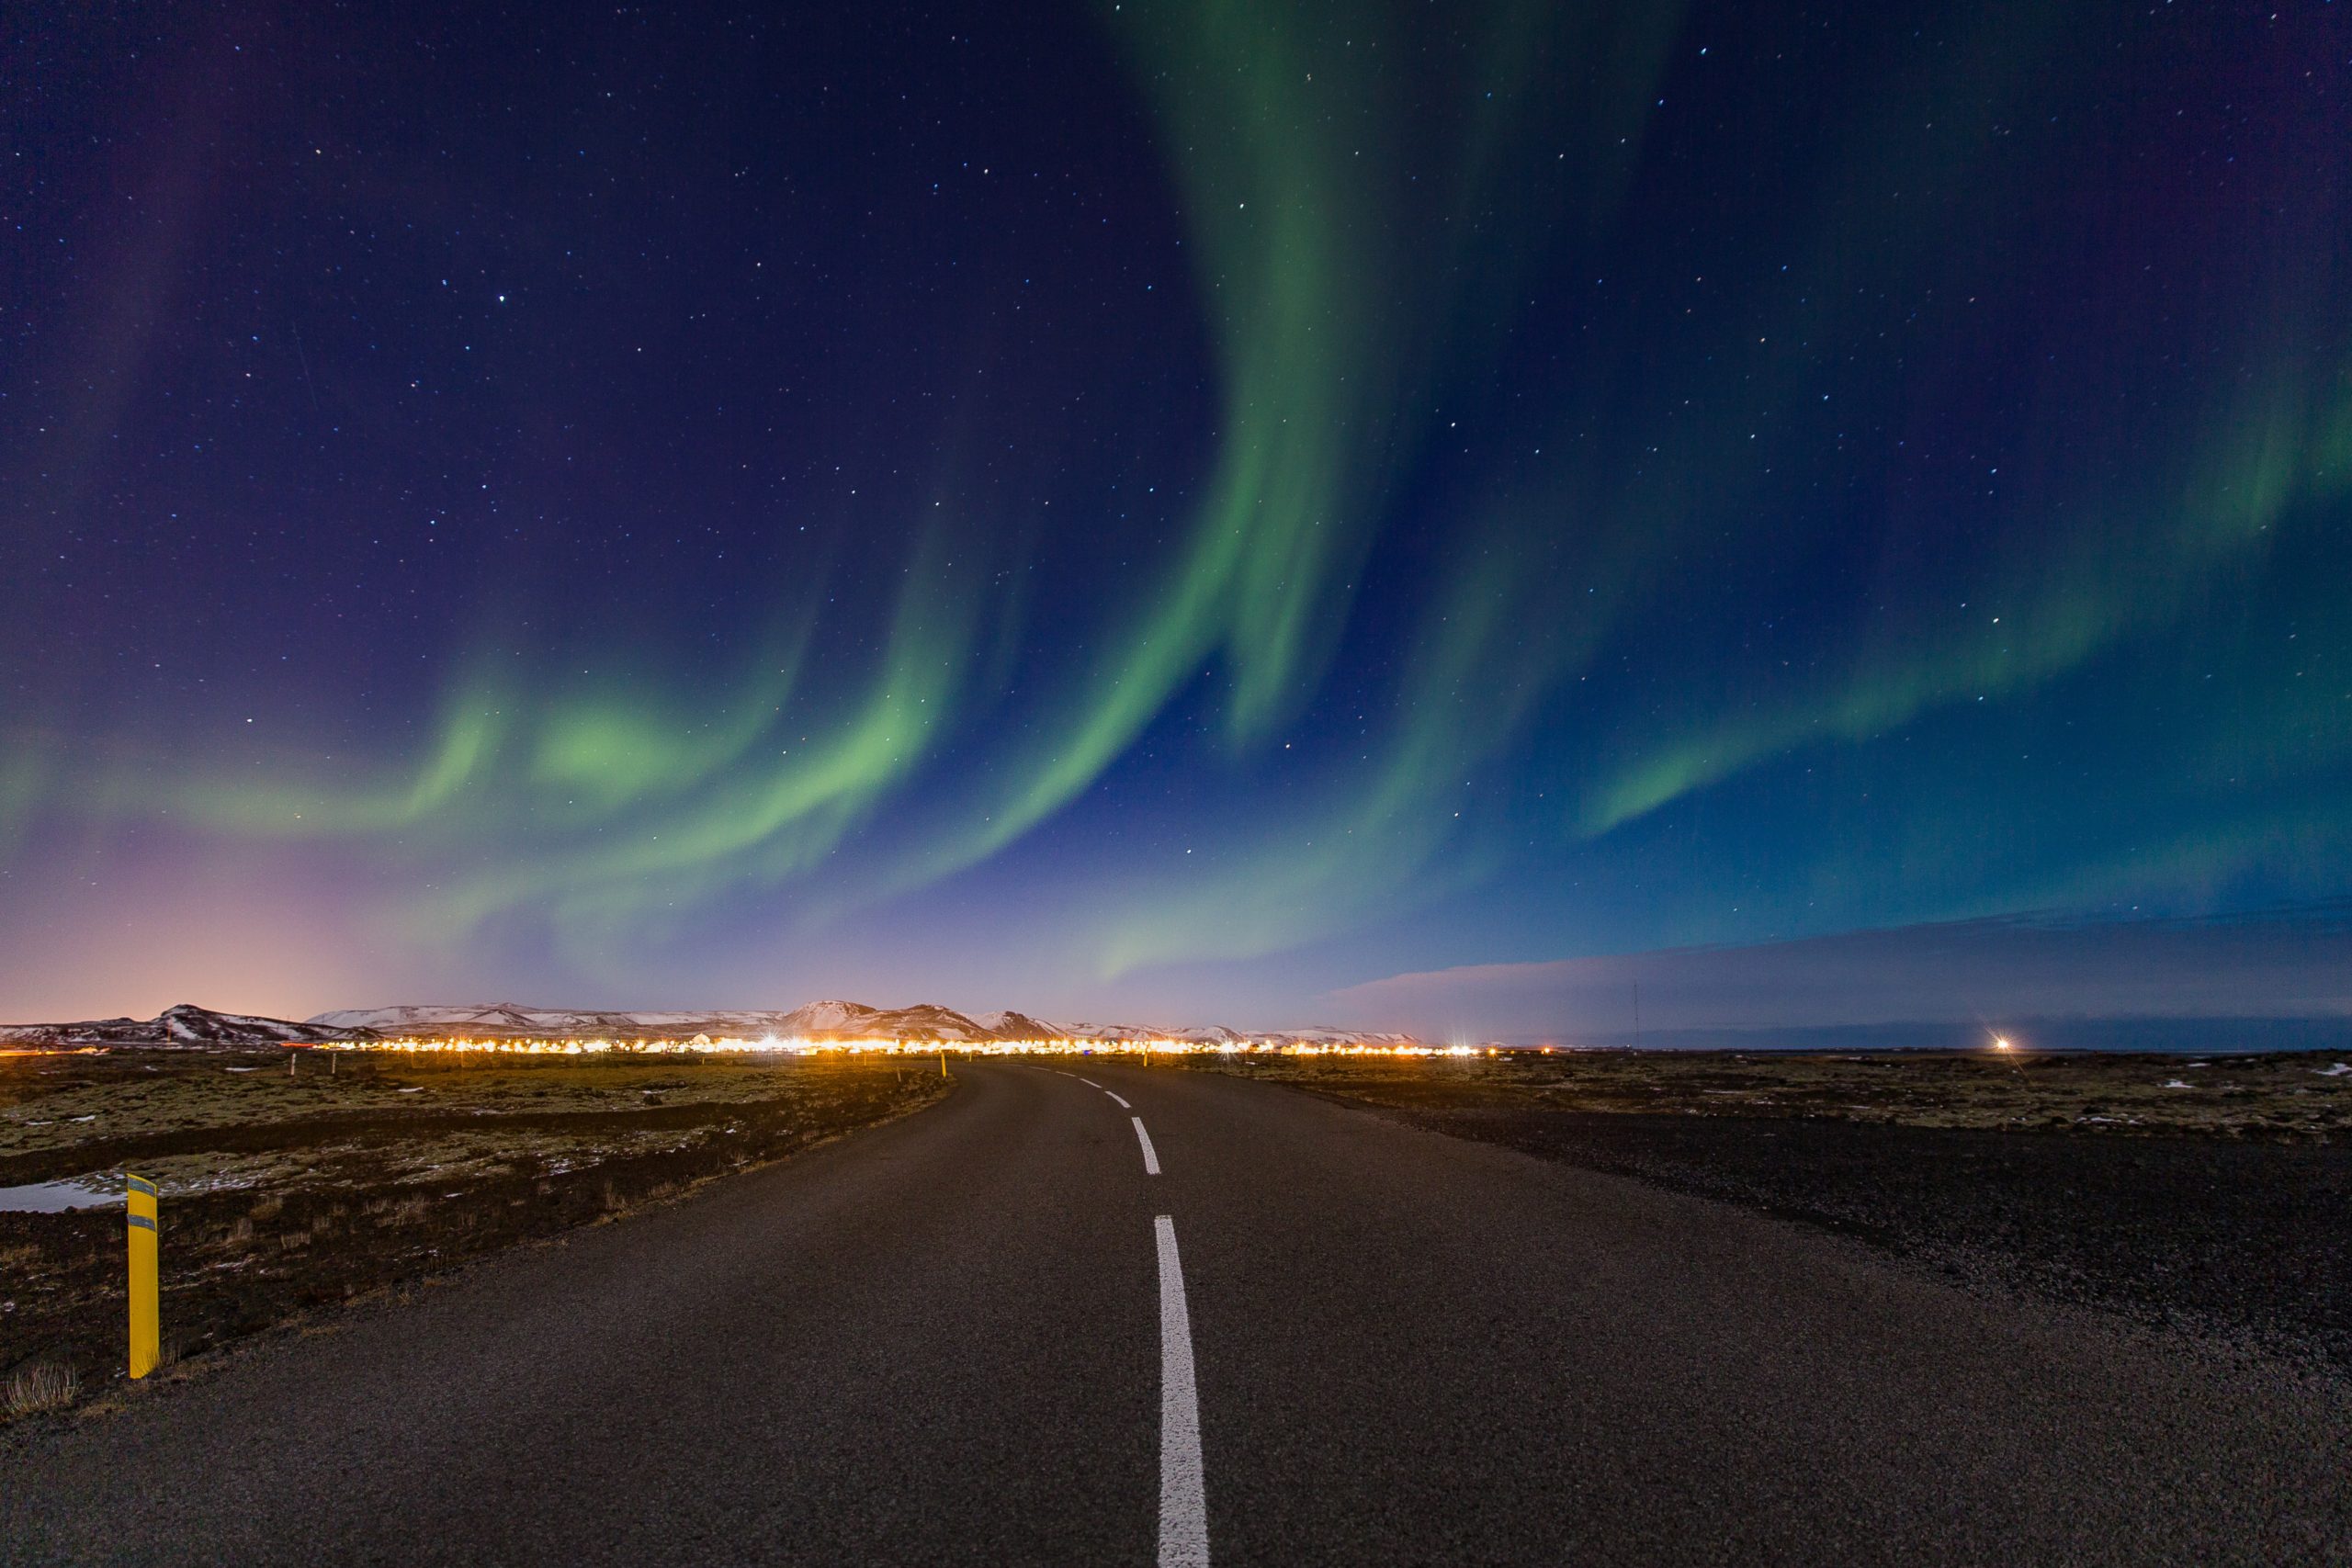
7. Know what you're looking for
When people talk about how to hunt northern lights in Iceland, they often forget to mention this part. It’s important to be prepared for auroras that may not look like what you’ve seen on postcards and films.
The average, low level aurora may be a bit smokier, darker, or less saturated than you expect. Knowing that they can begin this way can help hone your vision, and can also be the tip that helps you decide between the “cloud or lights?” game that many hunters have to play.
It can also help to know that not every aurora is a swirly ribbon of quickly moving spikes, and they may not even be the color you’re expecting! Some auroras can appear as a diffused glow, spots of activity, or even slowly moving bow shapes.
(Not to be confused with ambient city glow! On a cloudy night, a nearby town can throw off a surprising amount of warm glow into the sky.) Keep an eye out for cool extras like the Imagine Peace Tower in Reykjavik, shooting stars, satellites, constellations, planets, and even STEVE!
8. Go easy on your eyes
This can be a difficult tip depending on your situation, but it’s a good reminder. Our eyes are not designed to view color well in darkness, so aurora hunting can be hard on us.
Depending on your eyesight, the context you’re in, and your own color processing ability, you may find that your experience of viewing the lights is different from the person next to you.
Make sure to compare what you’re seeing, and talk about it! You would be surprised by how different we are. But no matter how sharp your night vision is, remember that you can help it by giving your eyes time to adjust, and avoiding bright lights while you’re out.
Things like phone and camera screens can be adjusted, and easier sources of light like red light flashlights can be acquired to really set the scene and spare your peepers. You don’t have to go full infrared mode, but don’t forget to be gentle to yourself. Aurora hunting is magical and difficult, so go easy on your senses.
9. Keep moving
This isn’t a requirement, but it can be a helpful strategy. If you have a great spot to watch from, (like a northern lights igloo!), then moving might not be the play for you. But if you’re in a vehicle, or just out wandering, switching up your vista can sometimes help.
When we view the sky, it can feel like we’re seeing the whole thing- but we aren’t. The area you’re watching is a slice. And that slice might be impacted by the grade of the land, obstacles like mountains, trees, or buildings, and sometimes clouds.
It’s good to remember that the northern lights are a global event that are happening to our planet, and not necessarily just us. This can mean that we just aren’t underneath whatever is happening, so movement can sometimes be that extra step that gets us a glimpse.
10. Don't forget those test shots
If you’re waiting on that dream photo, this tip is for you. Don’t wait until you’re SURE it’s an aurora, shoot early, and often! If you think you saw something and you’re not sure, a test shot can be a great way to find out.
Low level wispy activity can be easily sussed out with a sample shot, and it can be a great way to gauge how you’ll need to adjust your settings for that subject. You’d be surprised how dark the lights can be when they’re just getting started, and how much color the camera can pull out in a simple test image, that our eyes could not.
This is a strategy that can also help if you’re in a brighter place and are really struggling to see. The settings dont have to be perfect, but you’ll get a good confirmation when you see that neon green pop up on your camera.
Or not! Sometimes, it really is just a cloud. But until you’re sure, a test is a great way to hone your hunter’s eye and get used to the various forms an aurora can take.