
Camera? Check. Gloves? Check. Tips for photographing aurora borealis? Double check.
Planning to capture some once-in-a-lifetime shots on your aurora hunt? Don’t head out without these tips for photographing aurora borealis!
Seeing the lights in person is one thing, but being able to revisit that memory is priceless. Here are some of the tips and tricks that we use when setting up for a night of astrophotography. Share some of yours in the comments!
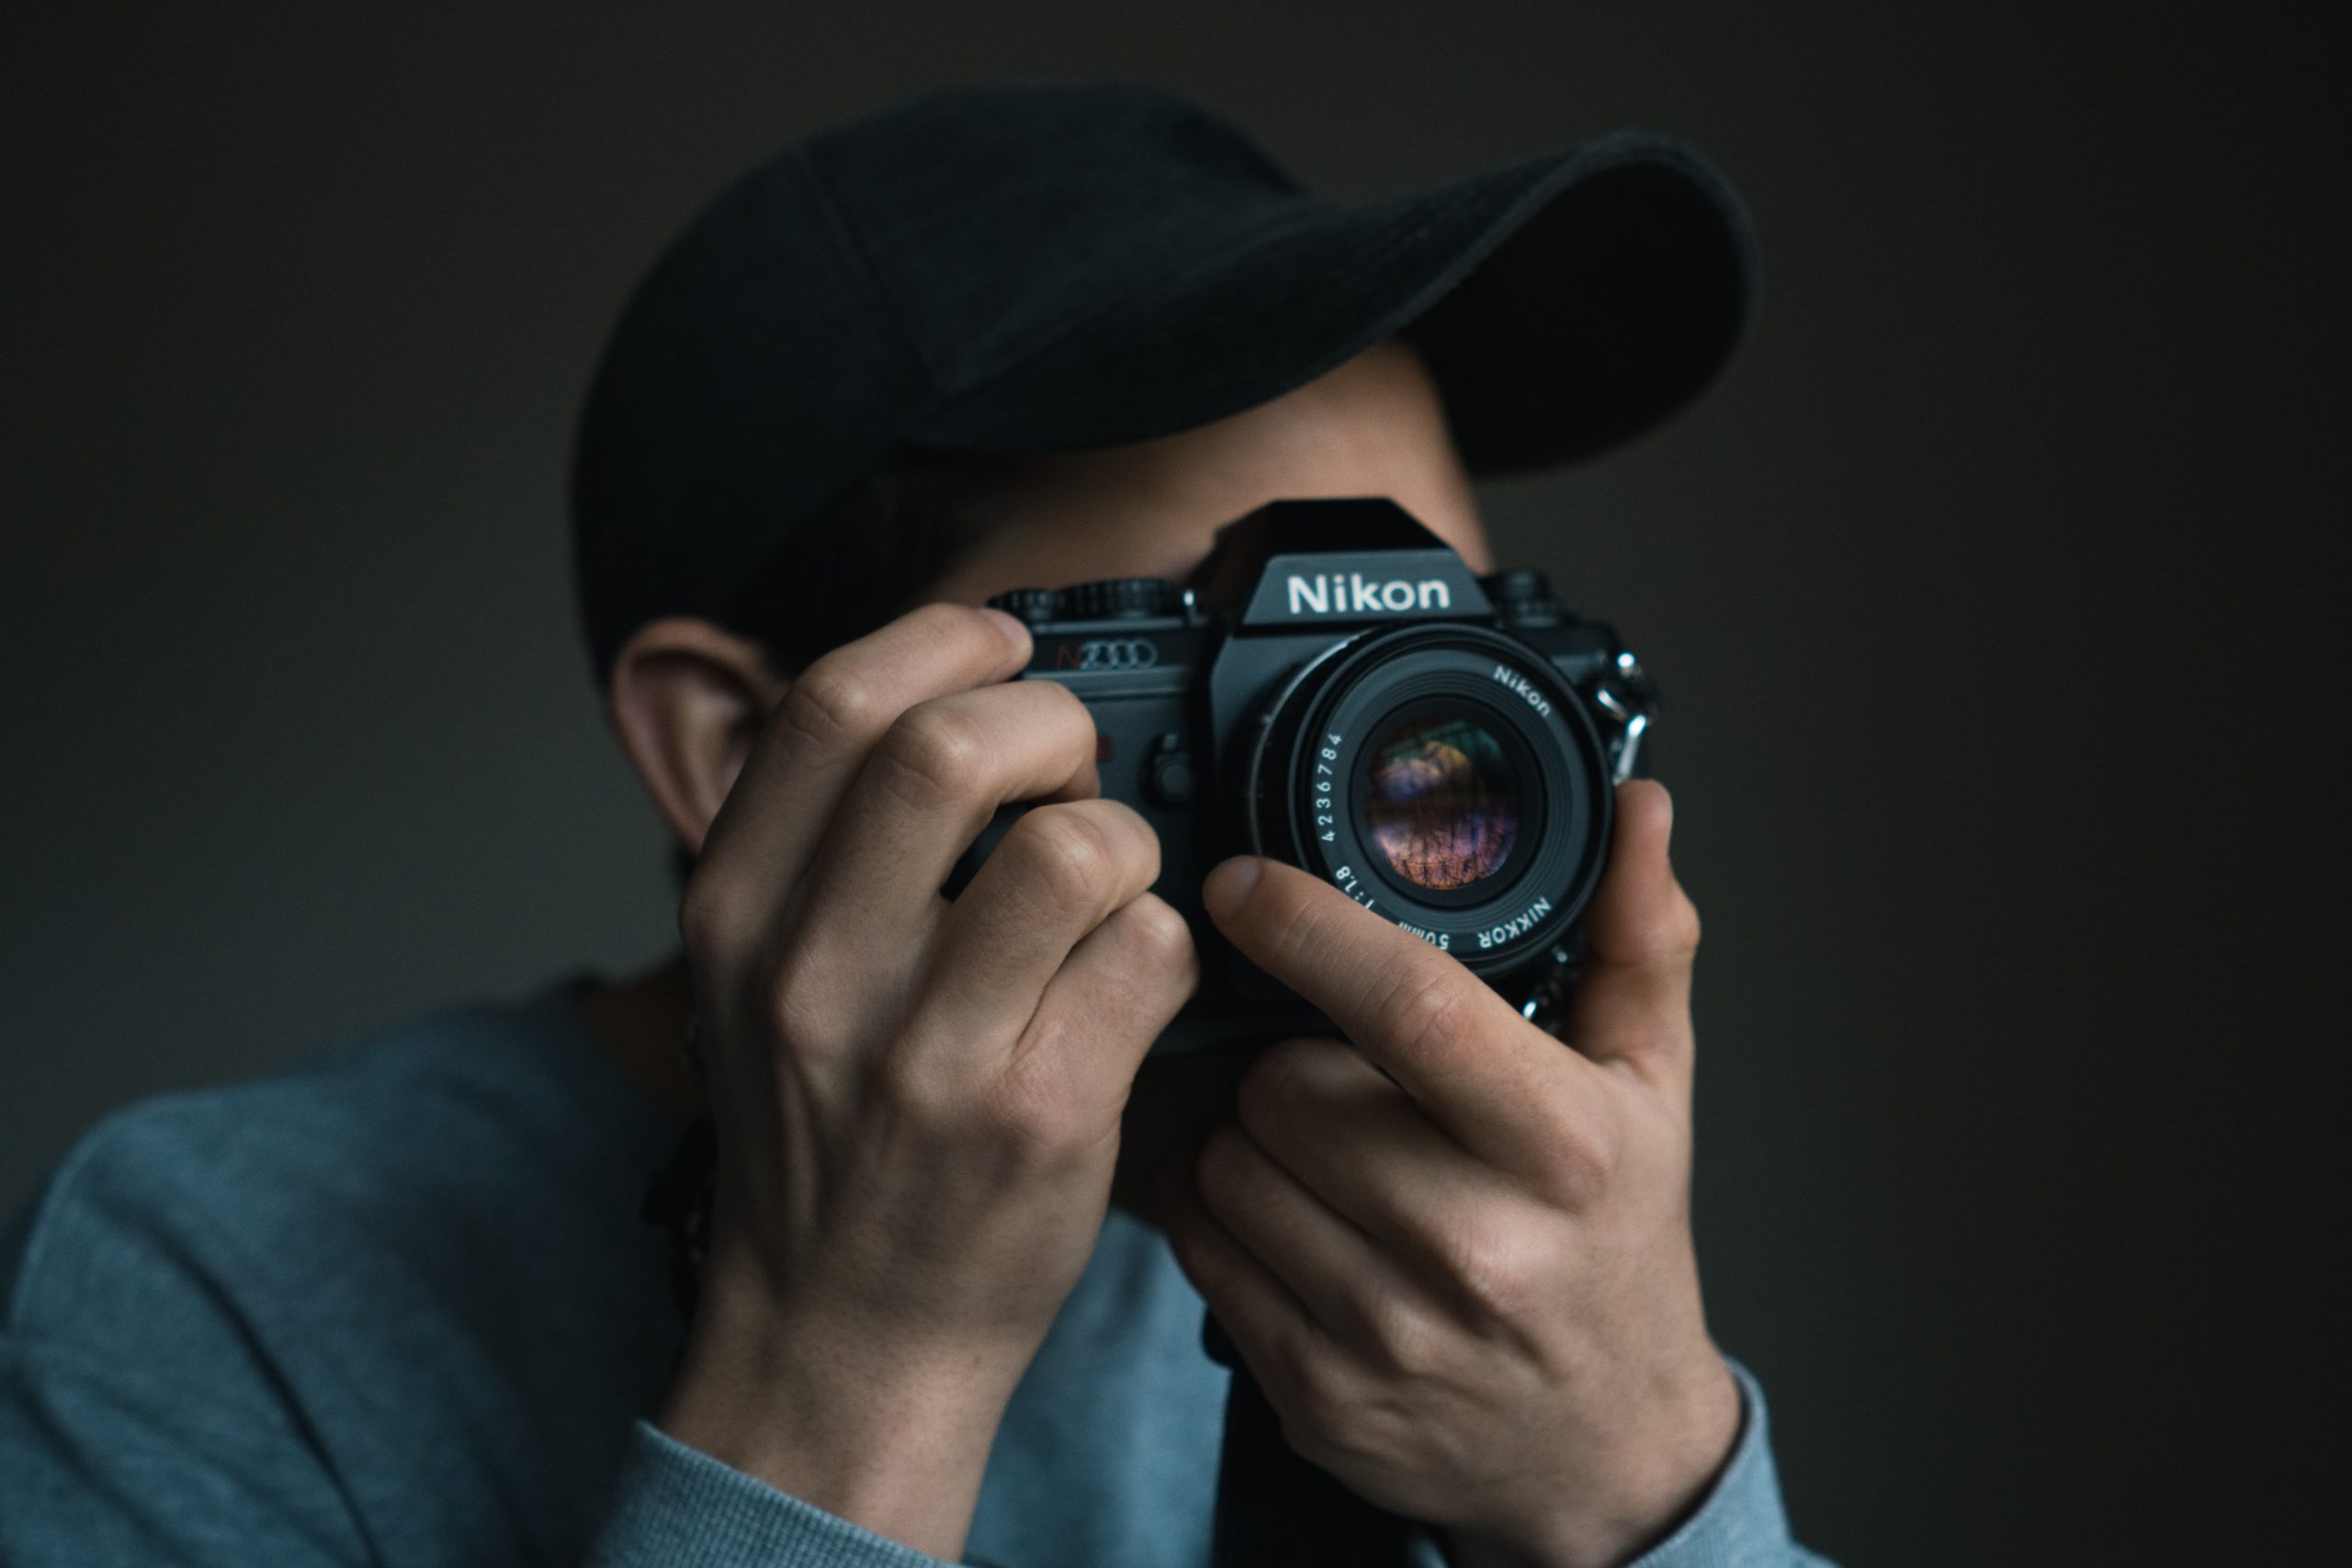
1. Keep your image sharp with a tripod
It can be hard to tell, but we move a lot. Try taking a few photos on a long shutter and you’ll see how much. In order to achieve a crisp and unblurred image, you’ll need a tripod or a solid surface to set your camera on for the duration of its shutter process.
Tripods are the best option. Because you never know when you’ll get a flat enough rock at the right height. (Not to mention the wind! A brisk evening wind has taken out many an expensive camera- so make sure yours is both attached and weighted enough to be left alone!
And if your images still suffer from shake, try a remote shutter release, or set a 10-second timer. You’d be surprised how disruptive one shutter press can be!)
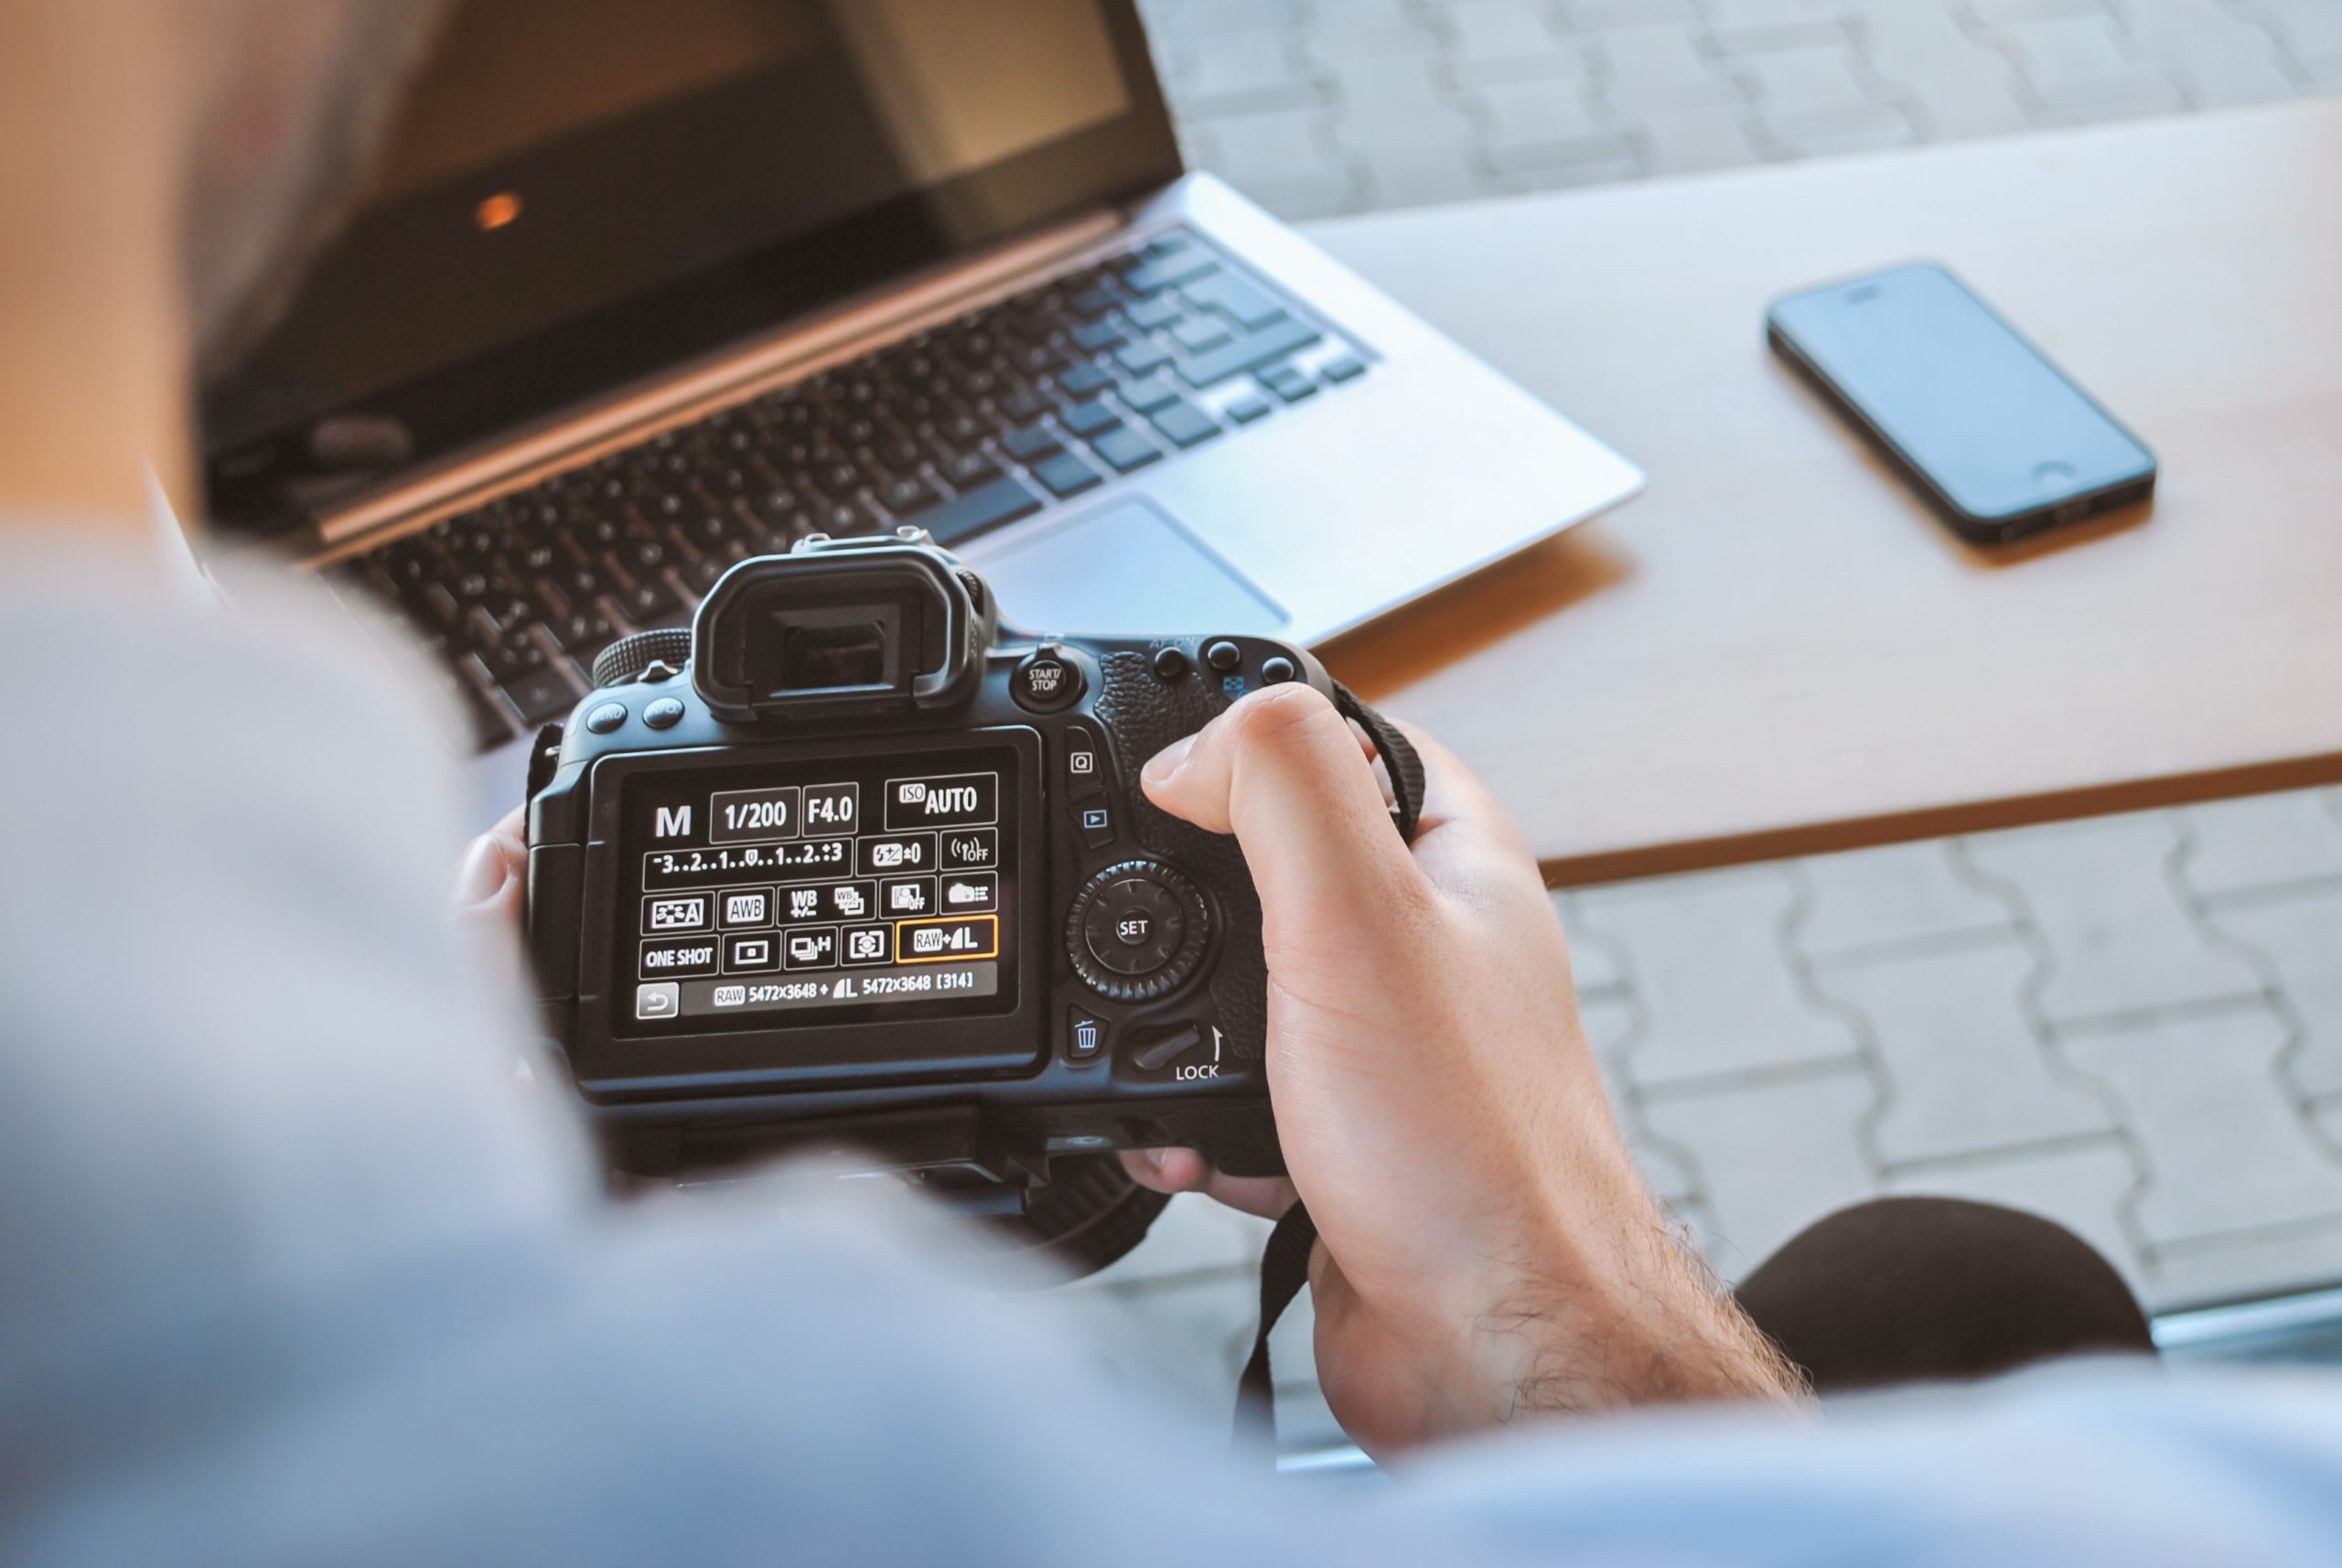
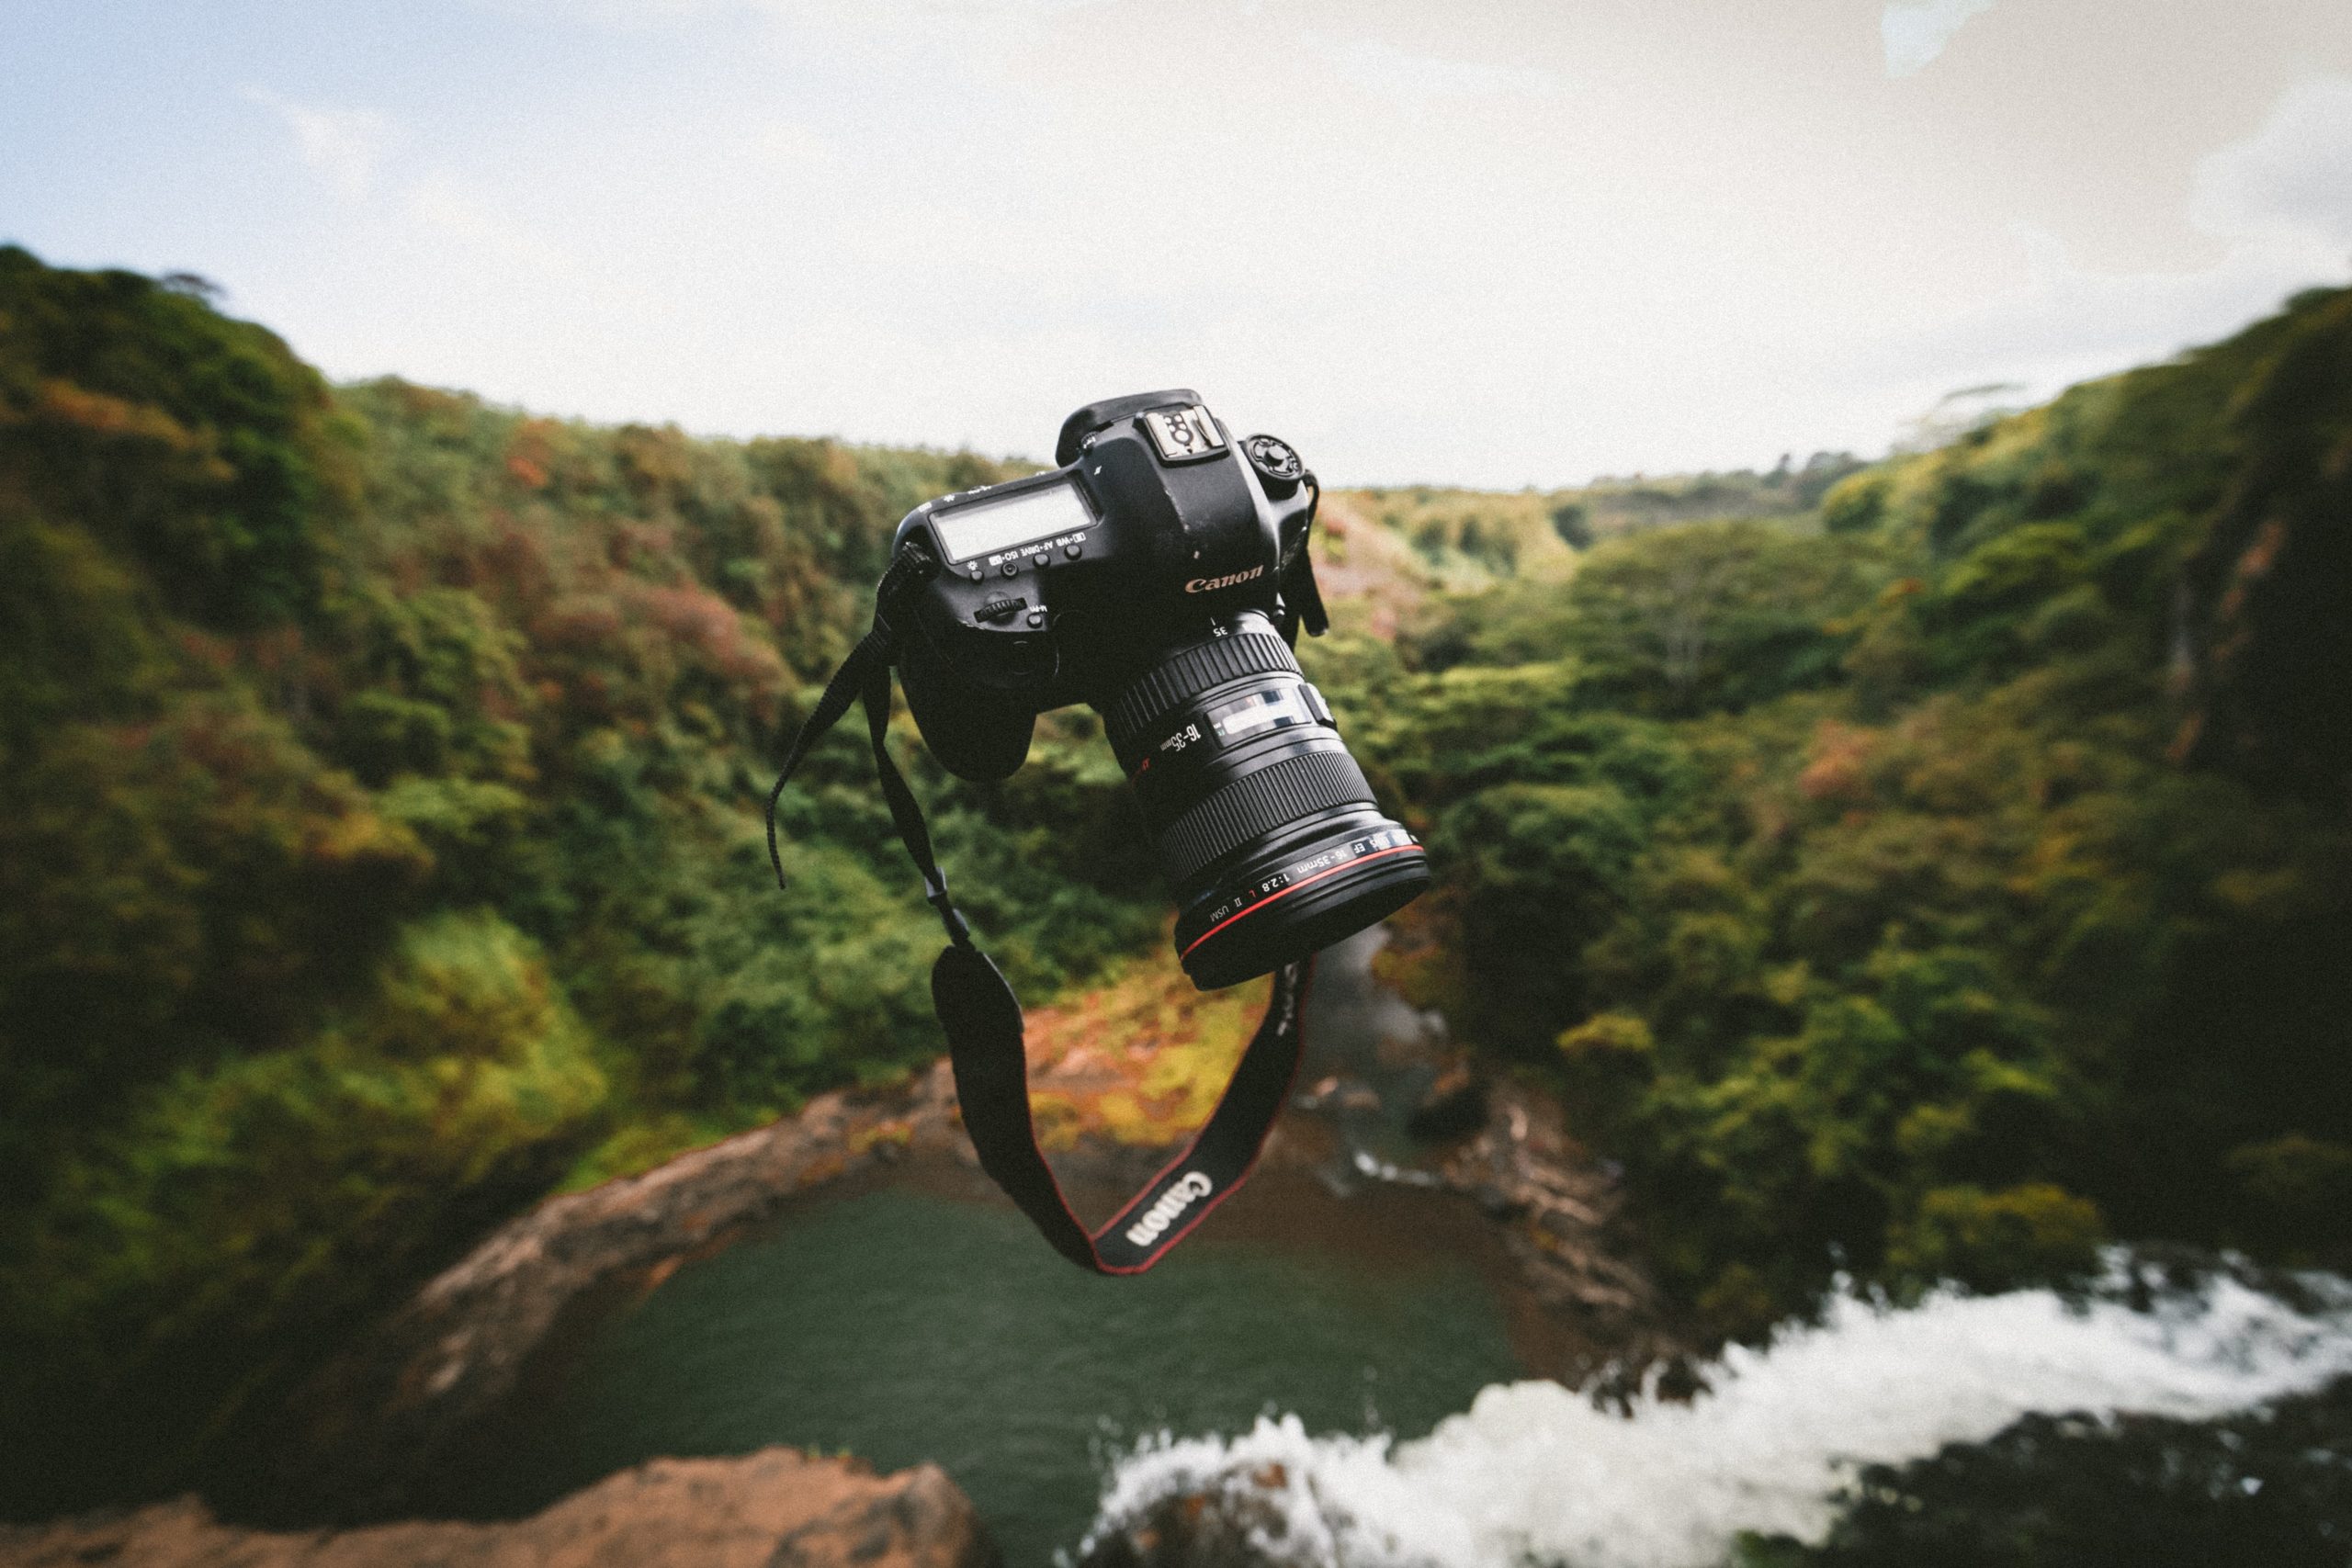
2. Check for manual mode
When you’re heading out on your first aurora excursion, make sure you have the right gear for the job. Many first-time hunters make the mistake of bringing cameras that don’t have a manual capability or a way to adjust settings.
Things like disposable cameras and many lower-level point and shoot varieties function on pre-created settings that don’t allow for much tweaking if any. These settings are most often intended for specific contexts like traditional daytime sunlight and indoor lighting.
You may find that you have limited control over novelty gear and smartphones as well, so it is good to check beforehand to make sure you know what you’re working with. Popular options for aurora photography are SLR and DSLR cameras with a manual mode, and as technology develops- even some smartphones and drones.
Many of the newer smartphones have night mode settings and are only getting better. But till then- it’s hard to beat good old-fashioned manual mode, which gives you full control over your image and how you capture the light around you.
3. Do your business before you leave the house
If you’re just starting out, get familiar with your camera settings before you leave. Finding an unfamiliar button or dial in the dark can be a struggle, especially if there’s an aurora actively happening overhead.
You can set and test basic settings (shutter speed, ISO, aperture, etc) before you head out, giving yourself just one less thing to do in the field, and a chance to troubleshoot any problems.
Keep in mind though, that a good understanding of these settings is helpful as you may have to adjust them based on what conditions you’re seeing. (Oh. And do use the facilities before you go- you never know when you’ll see another bathroom out in the wilds of nighttime Iceland.)
4. Get focused
You already know to put the camera in a manual setting, but what about your lens?
The autofocus function works really well during the day, but at night the camera will struggle to use this tool. Picture it- you’re all set up, there’s a glorious display of northern lights, you’ve pressed the button, and.. The lens is just grinding into infinity.
When in autofocus in a dark place the camera isn’t quite sure what to focus on, so it just spins the lens over and over trying to find a subject. So don’t forget to set your camera to manual focus! (..And then to actually focus, using another bright object in the area.)
5. Keep your batteries warm
Most cameras are powered by lithium-ion batteries, and lithium-ion batteries don’t do well in the cold. This could spell trouble for your smartphone, your cameras, and even your gadgets or tools.
In order to keep yourself prepared, the best thing to do is to make sure you have fully charged backup batteries on hand. But if it’s too late, you can still salvage the one you’ve got by warming it in your pocket, wearing your gear close to your body, or utilizing hand warmers.
Make sure to not leave your batteries in a cold place overnight, and if you need to do an emergency charge, try to avoid charging a cold battery. You may find that it won’t take the charge!
6. Open it up!
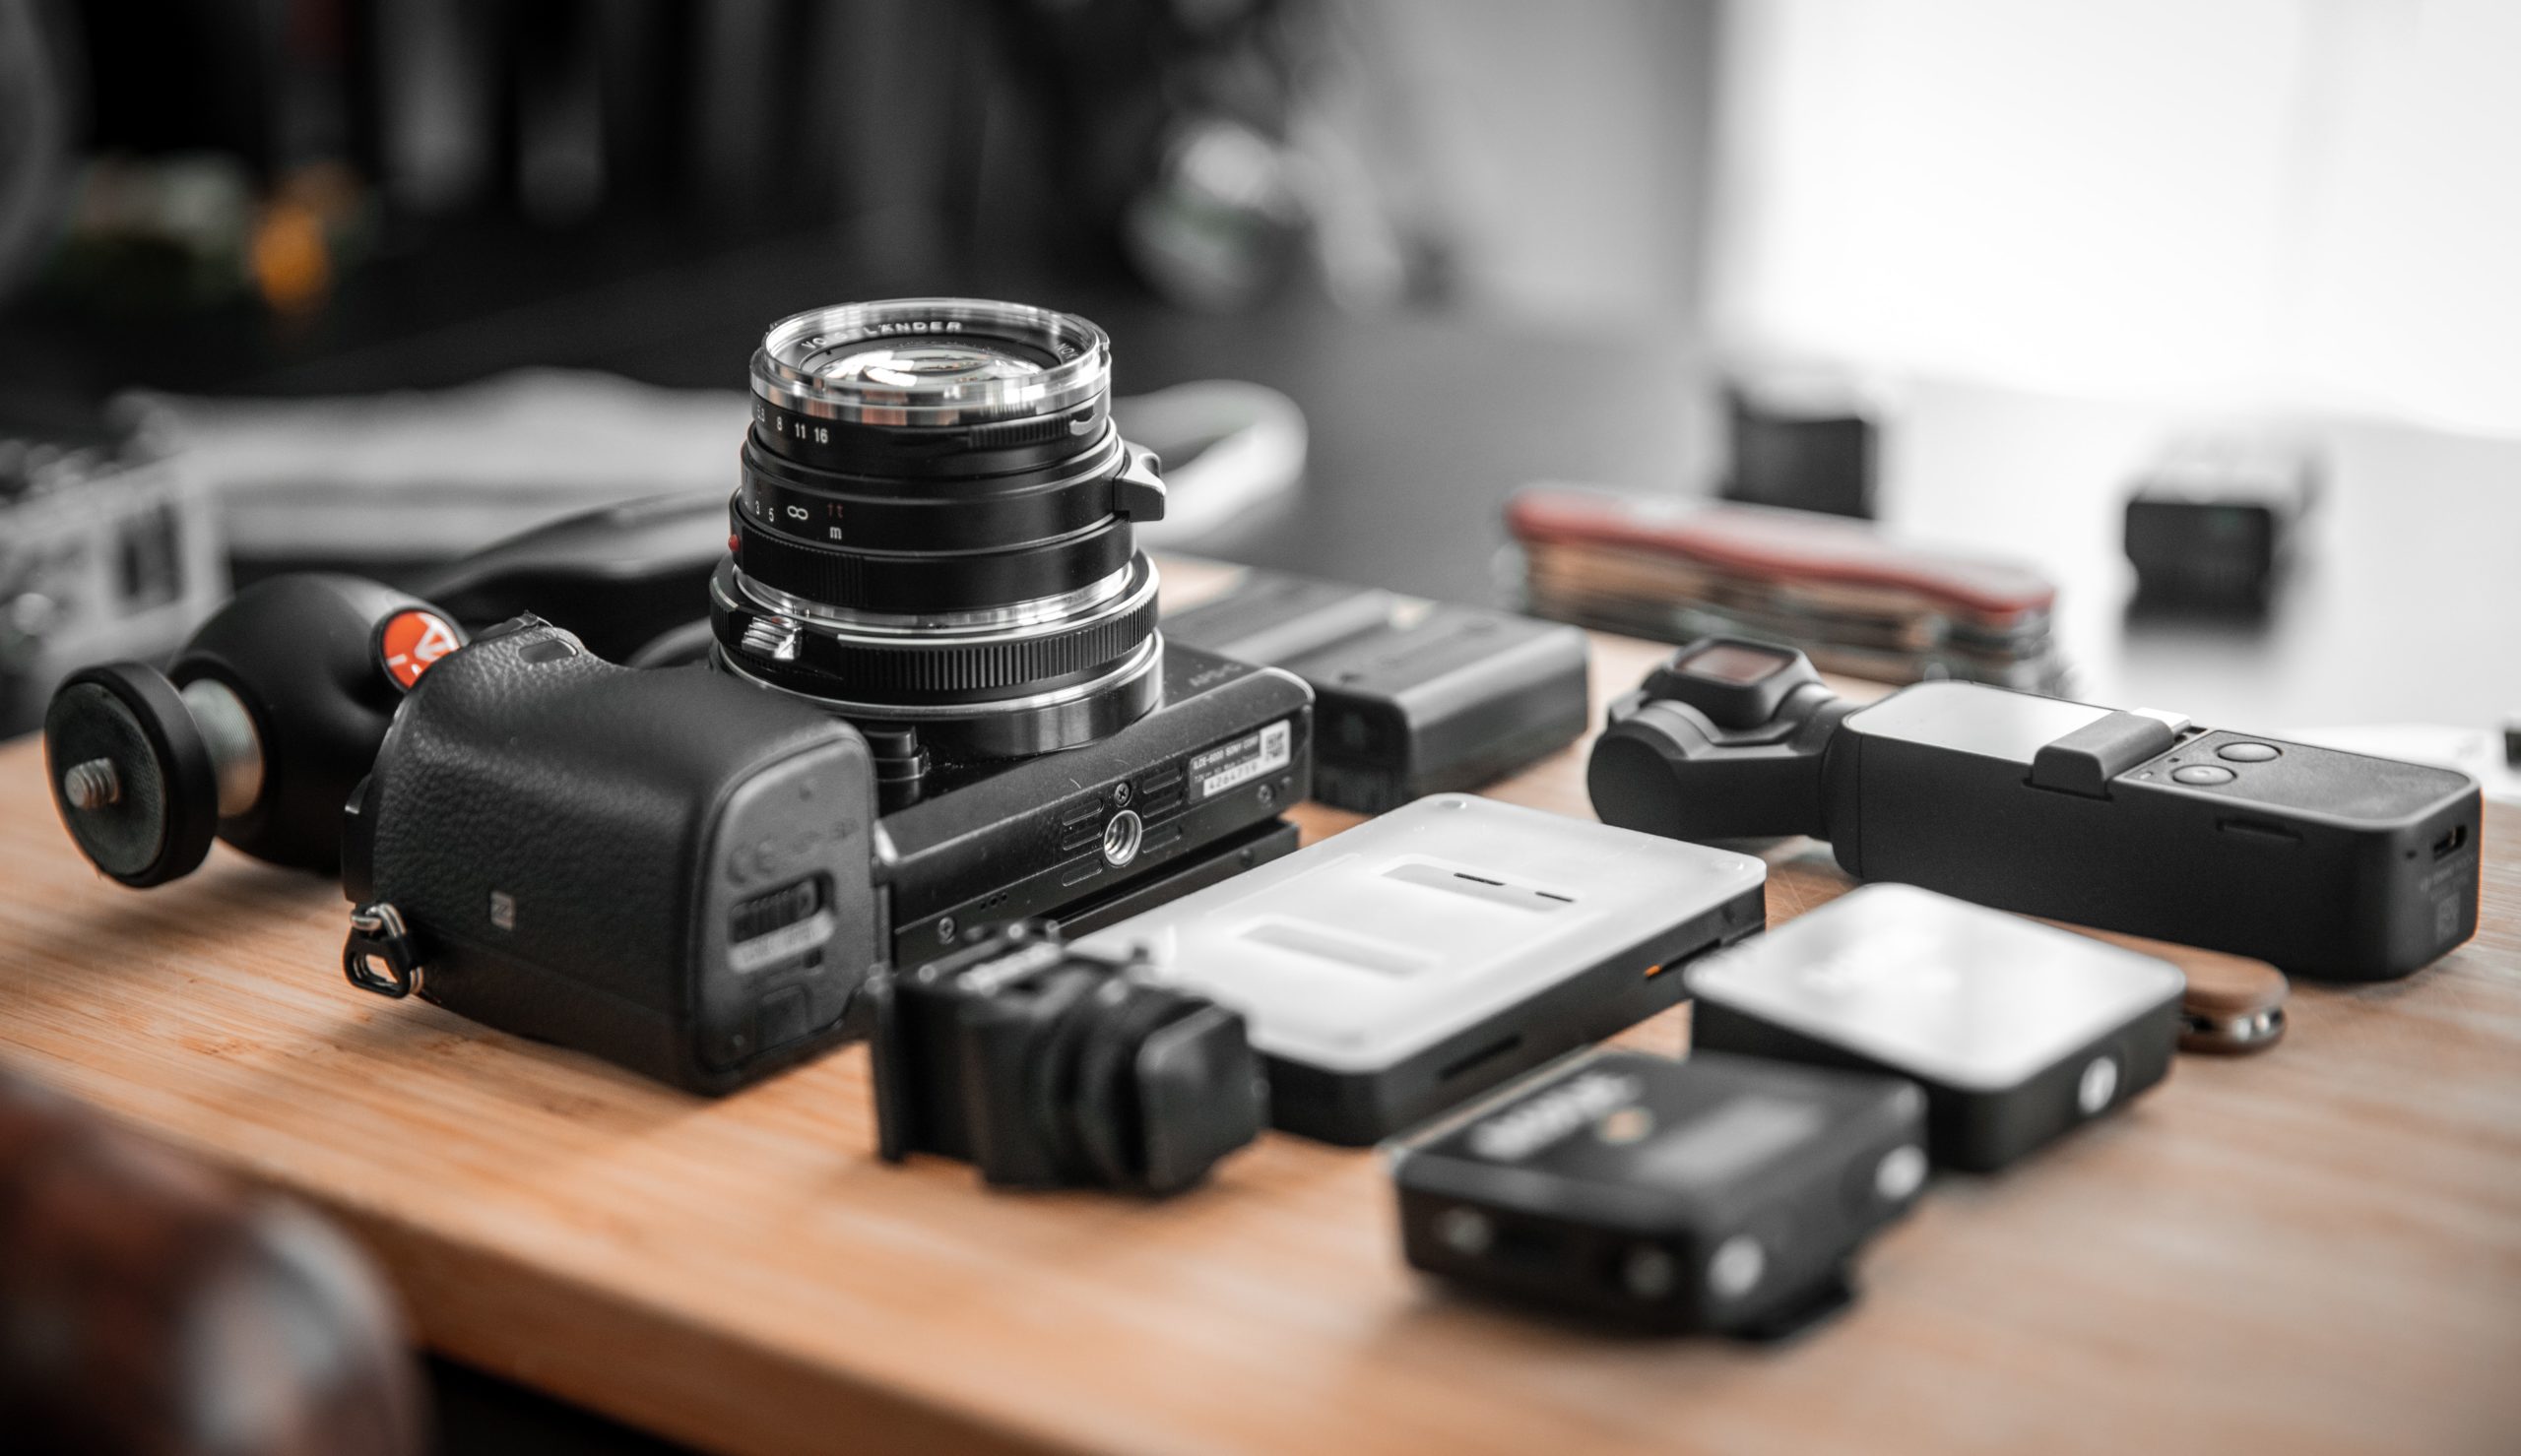
You’re packing your camera bag and making last minute lens decisions- so what are you bringing? Our favorite aurora lenses are fast, wide, luminous and light.
That means that they can access a low digit (fast) aperture, they can capture a wide view of the sky, they aren’t overly heavy, and they manage low light conditions well and without distortion.
Choosing a lens is a big investment, so make sure you’re going with something that works for your camera and will meet your photographic needs. Auroras can take up a huge vista, so when in doubt, go wide!
7. Keep down the noise
When setting your camera for nighttime photography, one of the most important settings to remember is ISO. ISO is a function that controls the light sensitivity of the camera’s imaging sensor.
In this case, that means that the ISO is helping the camera “see” light in a dark place. ISO is always in play, even if you’re using a pre-programmed setting, and we recognize it as a number scale.
Typically, a daytime ISO is between 100-200, and a nightime ISO starts at 800, and can go quite high depending on the conditions at hand, and the length of your shutter speed. (Too much on both can create a washed out image!)
You will find that you’ll have to experiment a bit with the best ISO for your shot, and it’s good to try a few. For most cameras, we recommend staying below 6400, but always experiment with these combinations- as higher end cameras will have different processing strengths.
But beware- the ISO may make the aurora in your photo brighter, but you can have too much of a good thing! An ISO that is too high can create “grain” in your photo, or noise.
This can be hard to see in a thumbnail, so make sure to capture shots with multiple setting combinations to avoid getting a great shot- but with too much texture.
8. Catch every movement, the easy way
Photos are great, but what about animation? Live filming of nighttime shots has been difficult for a long time, but is starting to become possible on certain cameras.
The difficulty here is that most cameras do not allow manual setting control during video, but instead they give you a pre-set daytime mode. In order to capture an aurora on video, you still need access to those nighttime settings just like you do in photos.
The good news is that tech is catching up and allowing us these options more and more- but what if you don’t have one of those gadgets? Luckily, you can go the route of a traditional aurora hunter and try out time lapse.
A time lapse is a collection of many photos taken in quick succession, that are put together later to create a slideshow. After controlling the speed of this slideshow, you can use photos to simulate filmed movement in an auroral occurrence.
Many cameras have a time lapse function already, so you can just set it, and forget it! (Make sure to test it before you go out, this can be a tricky one to troubleshoot in the field.)
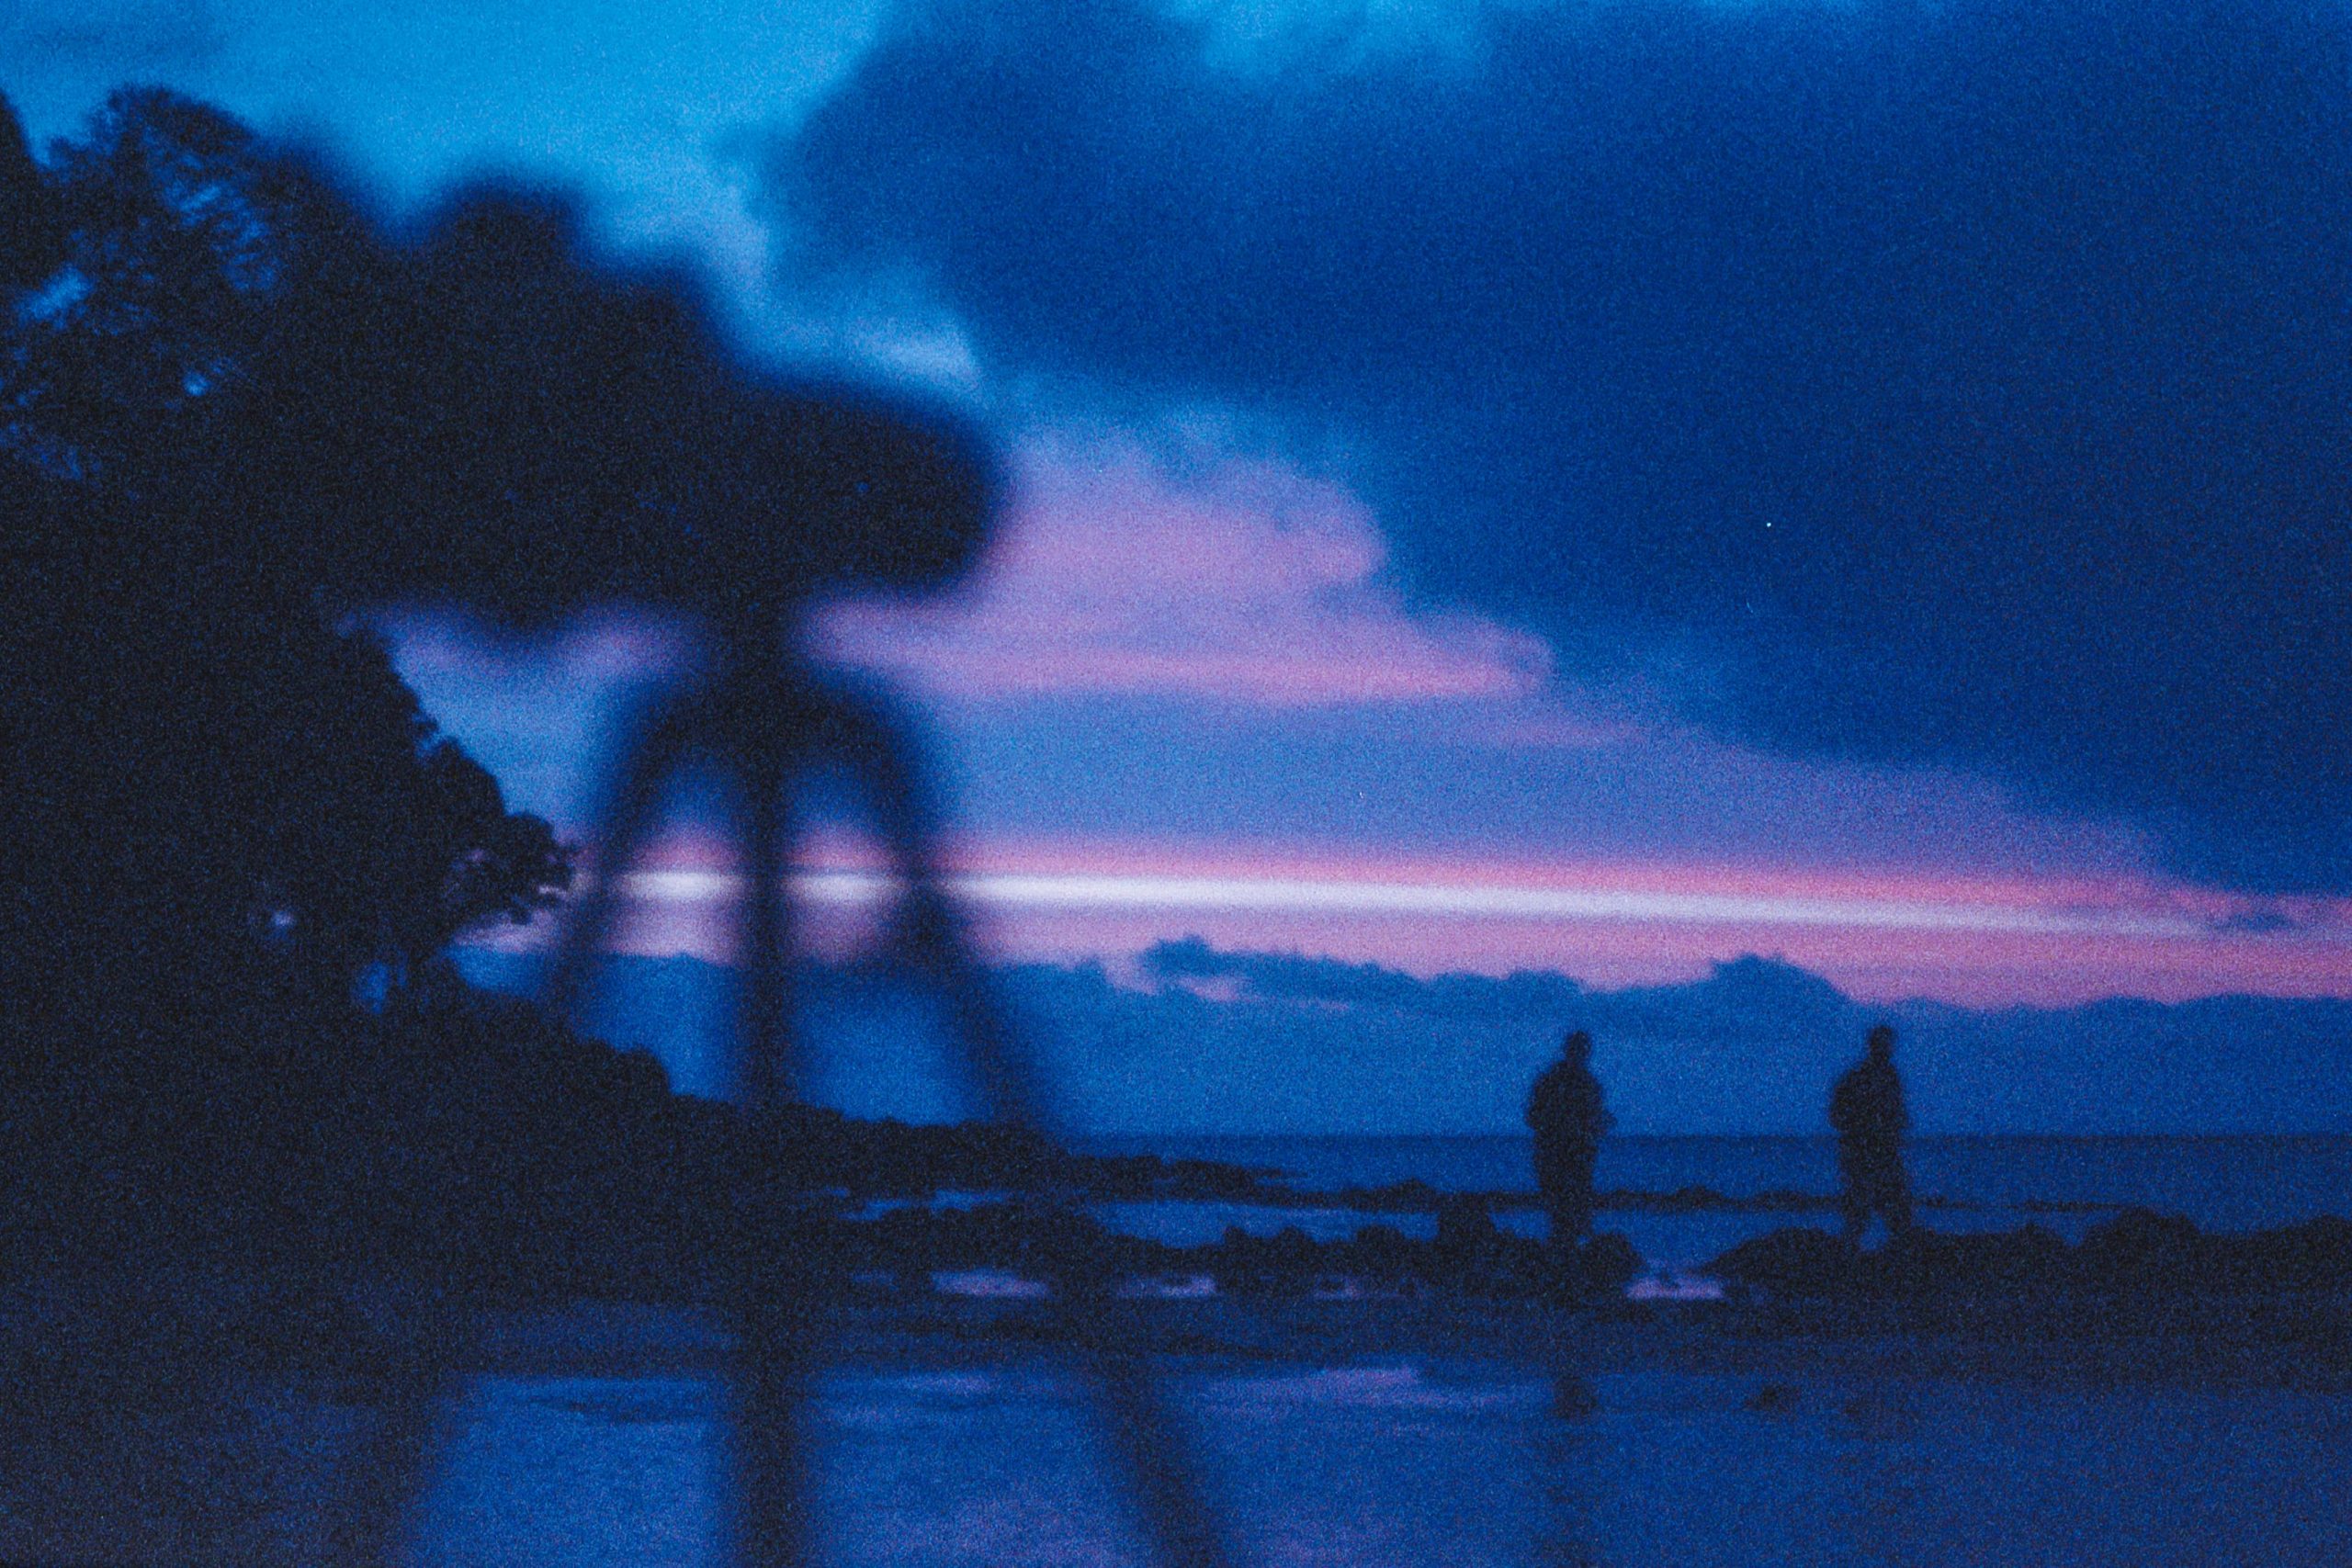
9. Don’t forget to turn ON the lights
Believe it or not, there are actually moments where a little light pollution can help us out. In instances where you want to be in the shot, or want to light the foreground a bit, try experimenting with small lights or vehicle headlights to carefully illuminate a smaller foreground object.
These photos takes some experimenting to get right, as too much light during a long shutter process can create overexposure. Sometimes it’s enough to just flash a cell phone light for a few seconds, and allowing the camera to capture that moment and layer it in.
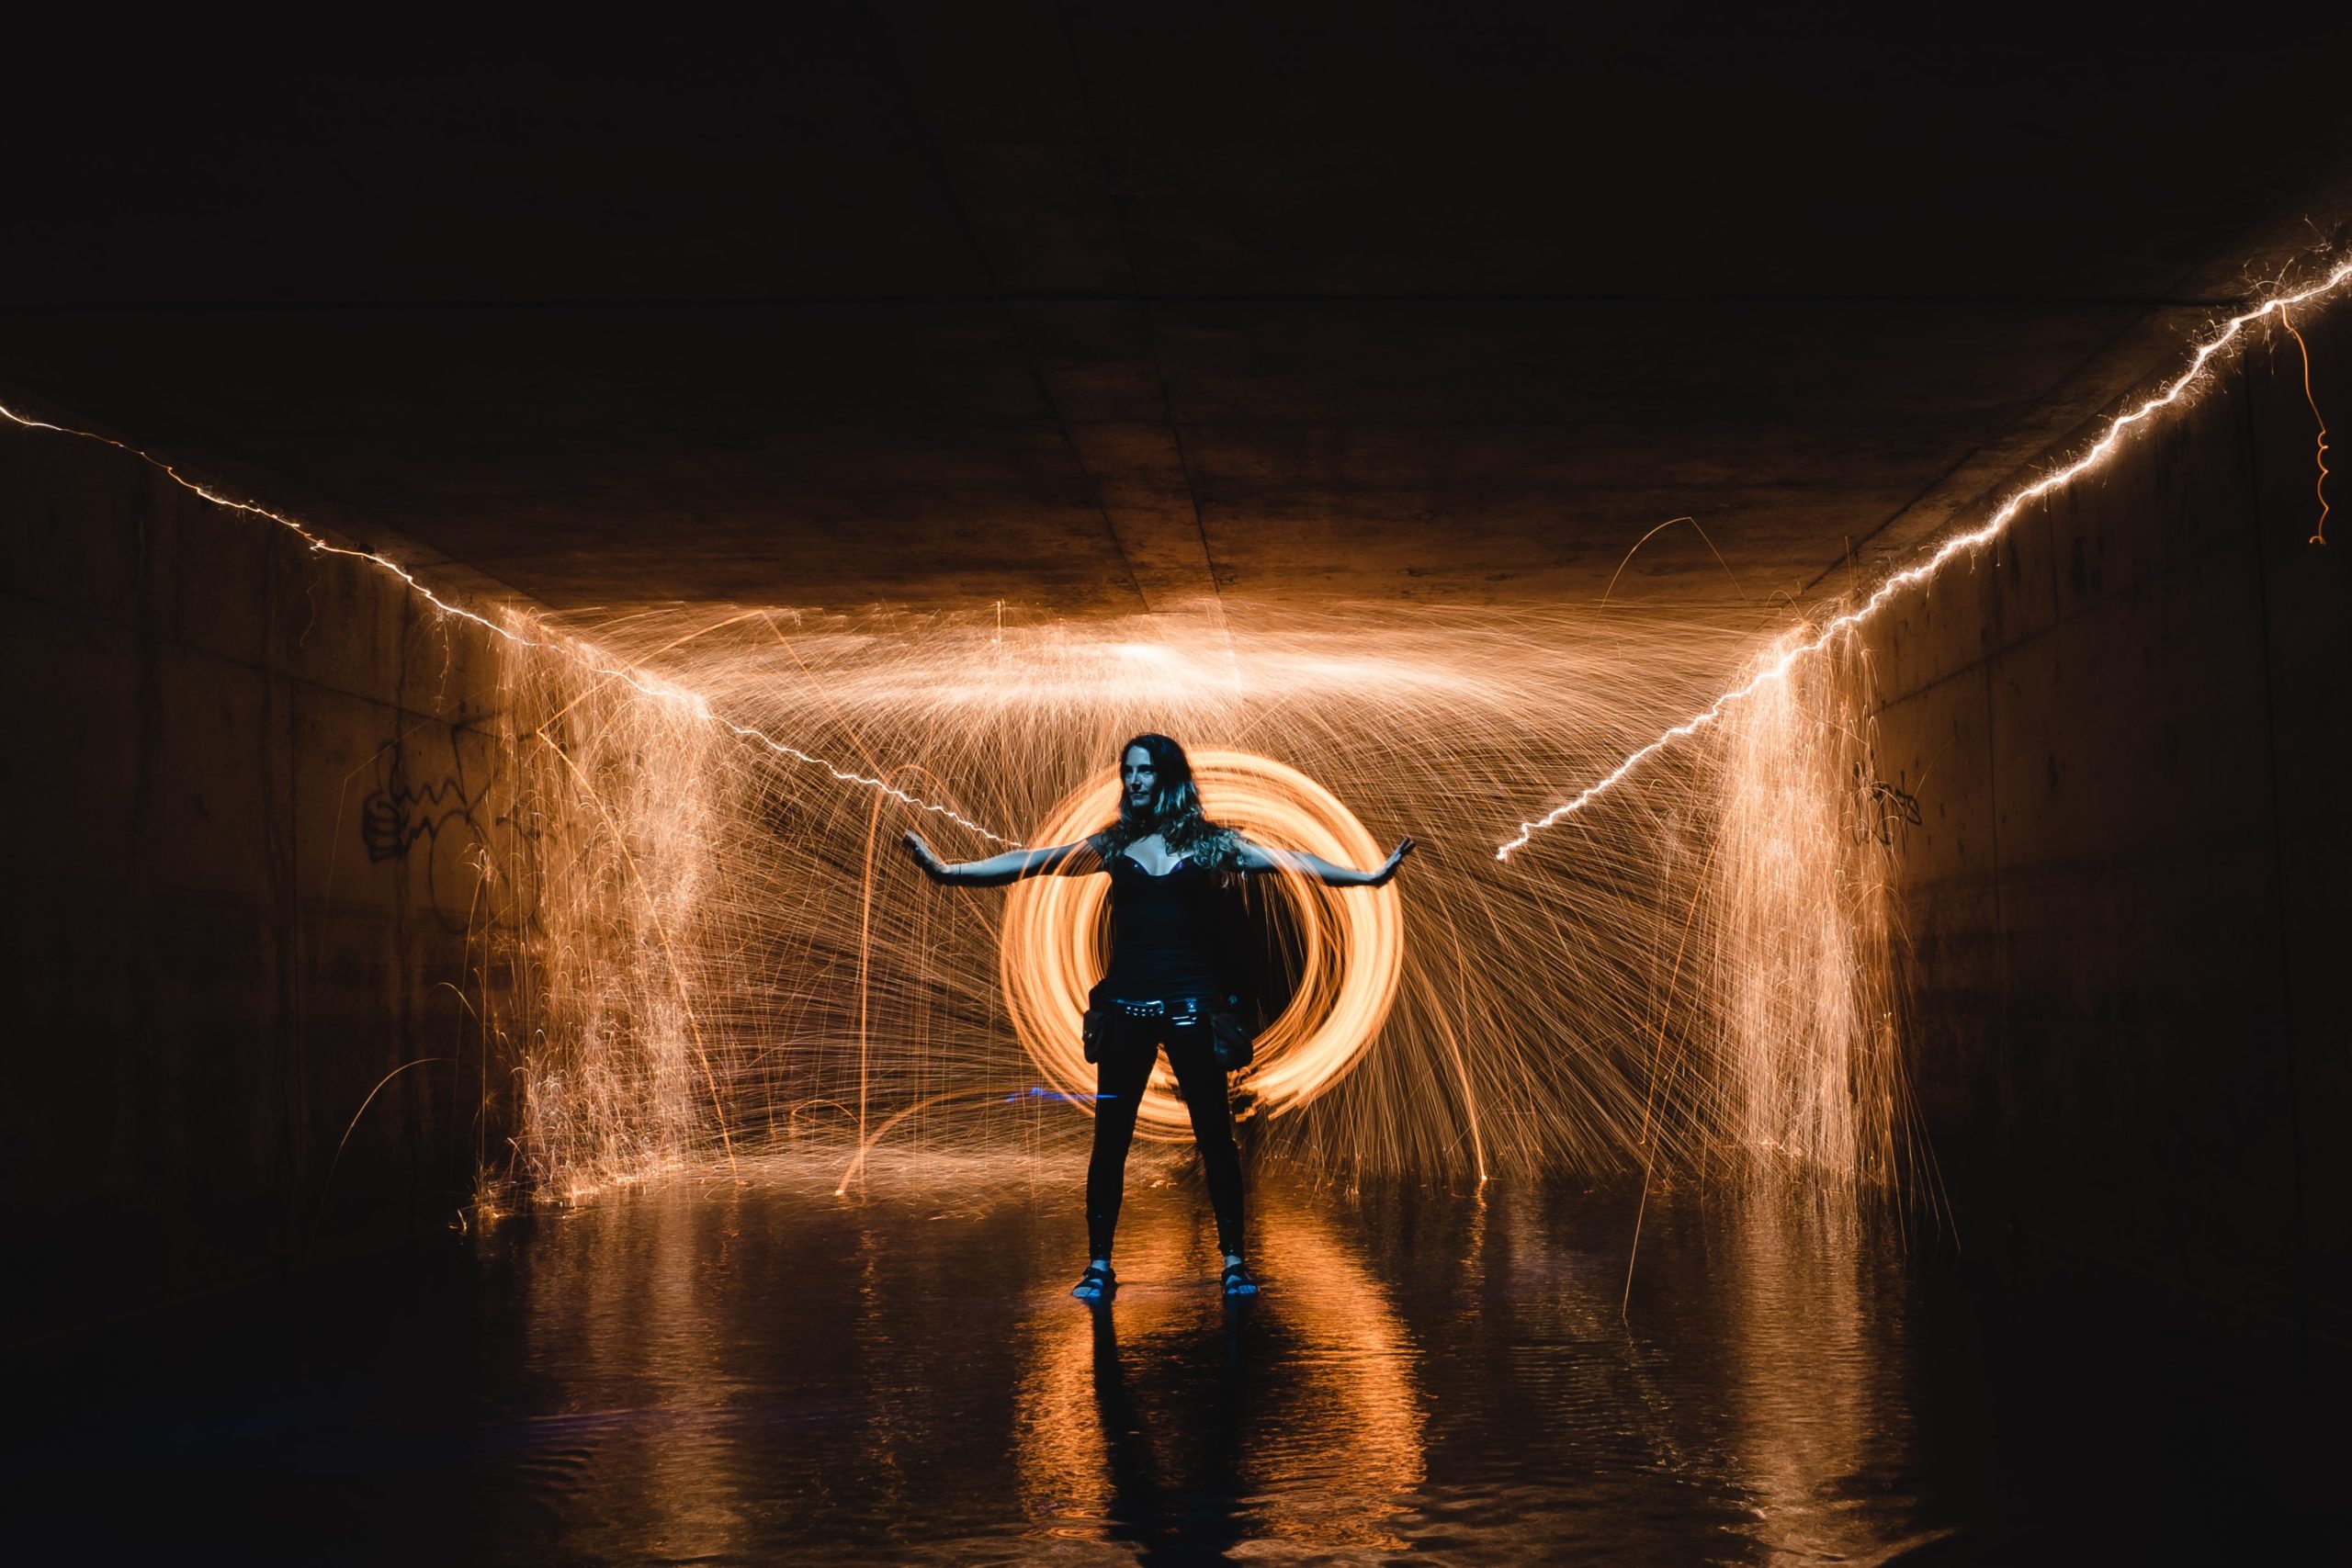
A well diffused porch light can do the trick- or even a good flashlight. And if the northern lights are running late, don’t forget about light painting!
Allowing a camera to take a photo on an extra long shutter can create motion blur in a photo- which gives you a chance to write a message or draw a symbol with a small light.
You’ve likely seen some of these images before- and they can be a lot of fun on a night when you’re biding your time waiting. Try setting your shutter to bulb for more time, and experiment with star trail shots as well! After all, the aurora isn’t the only light up here.
10. Pick your favorite color
Disclaimer: If you can, shooting in RAW is a preferable starting place. The RAW image format allows the image to retain more data, which helps you out later if you plan on post processing the image later.
A RAW image would retain enough data that you would be able to adjust the white balance later on. However, if you don’t have this ability, or you don’t want to bother with post processing, this tip is for you.
Once you’ve set your camera within the typical nighttime setting range, you’ll find that funny things can happen with color. Messing with somebody’s concept of light can do that.
However, don’t fret! If your photo is exceptionally orange or extremely blue, this can be quickly remedied by changing the white balance on your camera. The white balance option often has its own button indicated by “WB”, but can also be found in your camera’s settings menu.
This function gives you a menu of different icons that correspond to different “temperatures”. These temperatures will change the color cast of your images, so you can use them to control the warmth or coolness of your shot.
This is a pretty subjective setting, so you may need to try a few to get the look that you want.